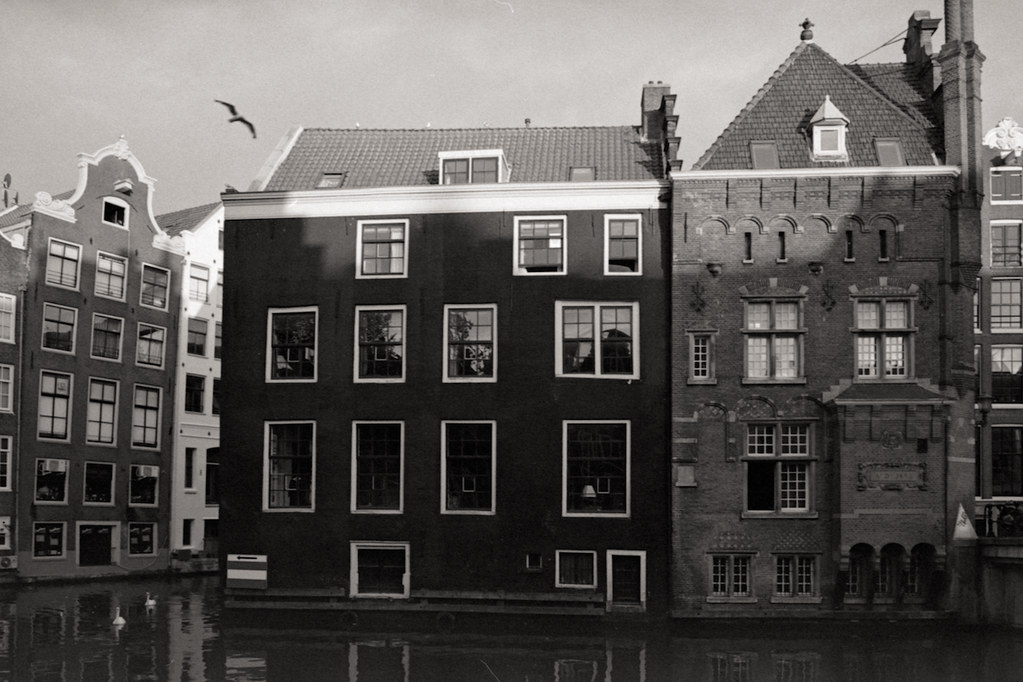
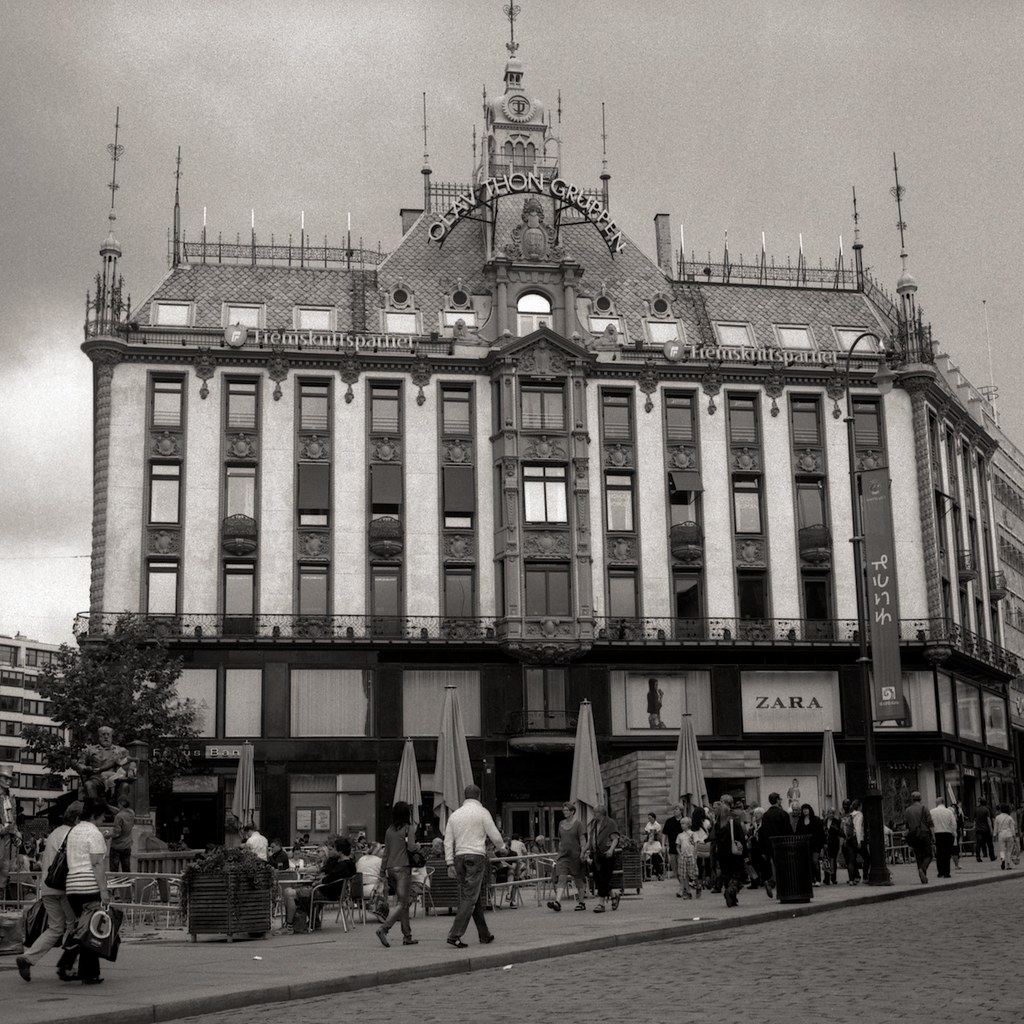
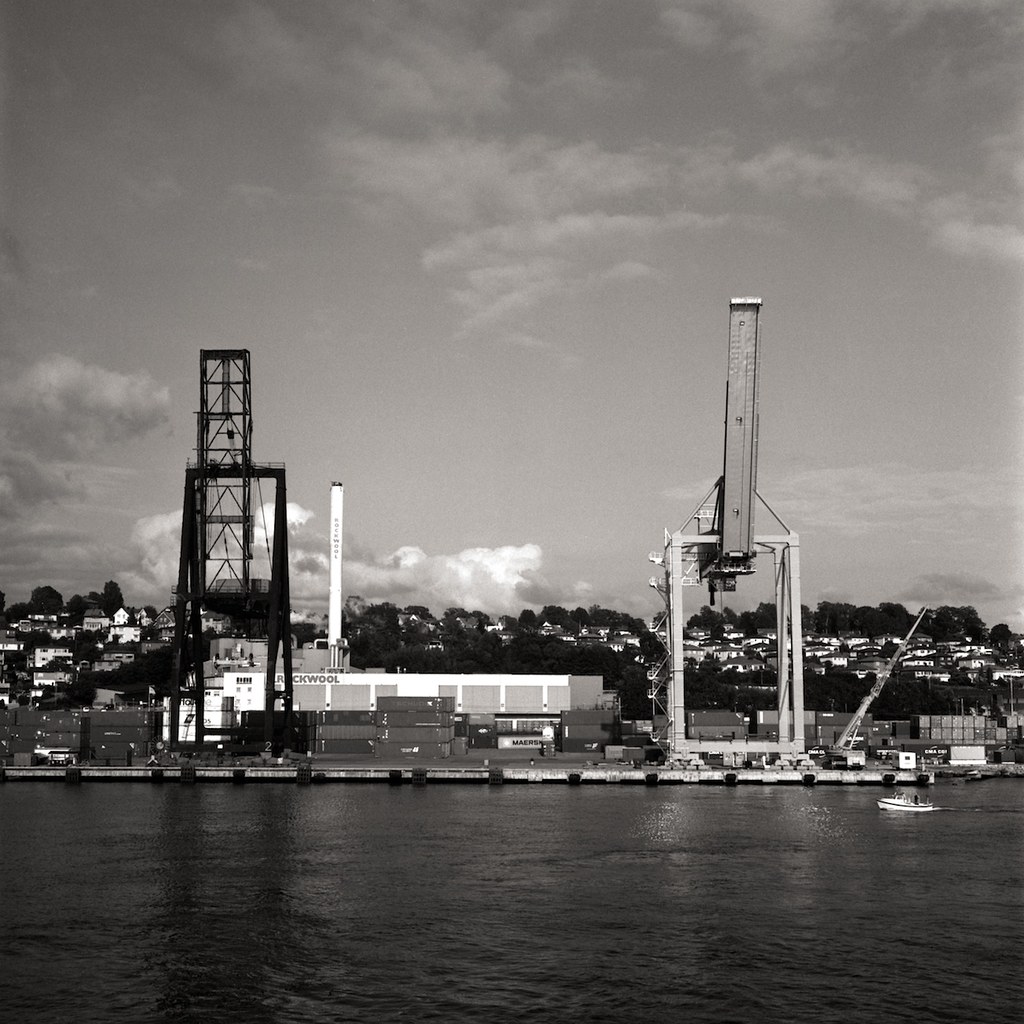
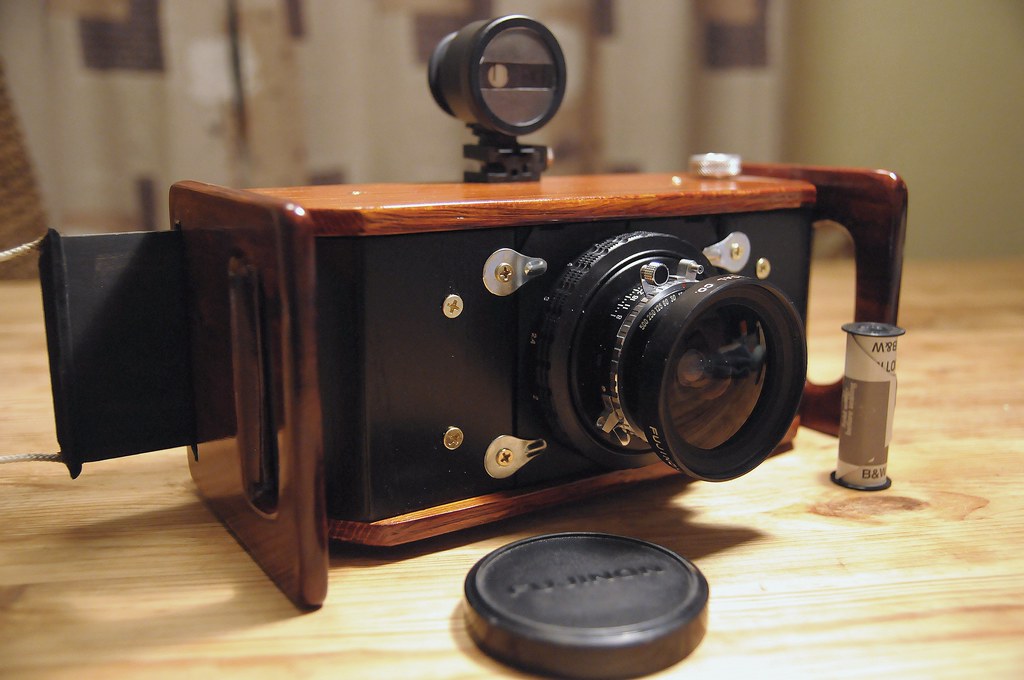
Visit my new blog

I´ve decided to split my blog in two. I will continue to post DIY projects and musings here, but (serious) pictures, taken on film of course, will be posted in my new blog "Silver Halides"

I now consider Caffenol to be a developer like any else. As such the new blog will focus more on the pictures, rather than the process.
Showing posts with label Fuji. Show all posts

Thursday, 5 September 2013

My DUO

Late last year I saw some pictures of a prototype Polaroid TLR on flickr member "kkado" stream. I amongst others thought that the design had such promise, a Kickstart project would not be out of place. Some months later and our dreams were heard, Kevin Kadooka, a.k.a kkado, opened this project on Kickstarter. I was quick to add my pledge, indeed I was backer no.1

The camera is based on a Mamiya-Sekor C-series 105mm f3.5 lens pair from a Mamiyaflex/C2/C3/C22/C33/C220/C330 camera. And a CB-100/101/103 type back. Both of which the customers had to source themselves. The lenses are capable of covering a film area much larger than the 6x6 on the Mamiyas. They would however need removing from the mounting plate to accommodate a larger distance between the two, needed on the DUO. The DUO also requires the backs to have the mounting claws removed in order to be mounted on a DUO specific adapter. The adapter mounts on the DUO using magnets, and can be rotated 90 degrees for both portrait and landscape modes. Kevin also made available a back adapter for 120 roll film, which I have, but have not yet put together.

Kevin has been very professional, adding updates, opening a blog, putting out videos and establishing an own flickr group to aid us poor DIY'ers in assembling the kit.

Late June 2013 my DUO kit landed in Norway. Being away during the summer, the kit laid untouched until the end of August. I then went about building it. With the help of Kevin's instruction manuals, videos and blog posts I managed to put it together, and paint it, in a weekend.

The camera is big, no question about it. But it is light, only 1320 grams all included, back and film loaded. The viewfinder is big (97x97mm), but at least on mine a bit dim, especially around the corners (viewing lens vignettes at f3.5 I would surmise). I also have a hard time shielding the finder from light intrusions and reflections. I might have to invest in a large wide brimmed hat ;) But, I am still happy after having shot the first pack of film. It really is a different experience. Google Rolleiflex and Polaroid, and see how many have tried to combine the two, indeed some have. The DUO however is built for the task, and will cover the full 4.24x3.25" type 100 film with no problems. The added bonus is of course you can shoot 120 roll film up to 6x9 on it too.

This is what it looks like

My DUO, painted in Signal Red, with Mamiya-Sekor 105/3.5 black lenses and CB-103 back
From the first pack of film (FP3000B)

Double exposure (intentional), headstone and church stairs

Old Skoger Church, Skoger

Old Skoger Church, Skoger

For more information on the DUO:

http://duo-tlr.blogspot.no

http://www.flickr.com/groups/duo-tlr/

Friday, 7 June 2013

Polaview camera

I originally bought a bare bones Polaroid 600SE body with a Polaroid Super Wide in mind. Ideally with a 65mm Mamiya Sekor or similar. But I never really got round to it. The body has been lying about for the best part of a year now. Then one night I dreamt of a Polaroid View camera, and thought the 600SE body might be be put to the task.

Understand that the bare bones body is just that, nothing but the frame, no front panel, no side or bottom panels, the view and rangefinder top gone, no nothing really. This meant that I had an awful lot of filling and sanding to do. The frame is mass of cavities and holes. In fact filling these and covering with leatherette took more than half the time of the build.

The body is mounted upside down, so the face to which the finder originally was attached is now mated to the base of the camera. The base has a slot front to back in which a slider with the front standard is mounted. All this is pretty simple stuff. No rack and pinion or other geared focusing mechanisms, just slide the front standard in and out. Though I have made concessions for a focus lock.

I then made a front standard and frame for the lens board, to which the bellows also are attached. The lens boards need to be custom made, they are considerably smaller than Linhof boards. Also, since the sliding mechanism dictates the lowest point the frame can rest, the middle of which is incidentally 4mm above the centre line of the camera, the lens mount need to be offset 4mm below the middle of the board.

The bellows also took a while. My first ever effort really. The first prototype was light tight, but too thick and way too stiff. The second is better. Made of black synthetic material, two layers with stiffeners in between. Not entirely light tight at first, so in order too make it light tight I coated the insides with Plasti-dip, which did the trick, and importantly - without affecting the suppleness. I then fashioned up an aluminium frame for mating with the front of camera body, and a balsa frame for mating with the frame for the lens board. It has approx 180mm of pull, and compresses to less than 10mm. The body is more than 50mm i depth, and there is another 6-7mm to the film plane once the back is mounted. Add another 20mm for the front frame and lens board and you in theory could mount a 90mm on the front of it, and still focus to infinity. There would be no movements at all however. Indeed the bellows limit movements considerably up to 127mm. Movements will be much improved at 135 and 150mm, which can also be mounted and focus down to less than 1m.

As it is, with a 127mm at infinity, there is 10mm rise (on plane, without tilt), no fall (unless with tilt, in which case up to 5mm), 45 degr tilt upwards, 15 degr tilt downwards, 5mm lateral shift left and right, and 30 degr swing. Movements improve dramatically at nominal close focus for the lens. Lateral shift, fall (with tilt) and downwards tilt most significantly.

I have yet to fork out for a proper Mamiya focusing screen, ground glass, for the camera. So until I have the means, I will make do with a glass I ground and cut down to size to fit in a used pack film cassette. With the back open and the back of the cassette removed, this works - though not overly well.


The Polaroid 600SE fasteners will allow all sorts of backs. Polaroid 100 type of course, but also 120 up to 6x9, and even 4x5 (though not with full coverage)

It is quite compact without back and carrying handle. Less than 130mm x 135mm x 160mm. And very light. Used as little materials as possible, and as light as possible. Weighs 840 grammes net, 1450 with Polaroid back and Tominon lens in Copal press shutter.

All work has been done with hand tools, and a drill.

Polaview, with 127mm Tominon (drawn out way past nominal close focus)


FP100C, Tominon 127mm f4.7, focused at 0.7m


FP 100C, Tominon 127mm f4.7,  slight forward tilt


Thursday, 6 September 2012

Kodak Tri-X (TX400 or 400TX) in Caffenol-C-H

I´ve recently developed two rolls of Tri-X. Both over expiry, one of the previous emulsion, and one of the current. Both worked out well.

Tri-X has always been Tri-X. But look at the designation on the box, and on the film rabate you´ll see that indeed they are different. Modern (post 2007) Tri-X is called 400TX. The former emulsion is called TX400 or just TX. Reputedly the newer emulsion is more fine grained and requires shorter development. Finer grain? Possibly, not that I would fret over big fat grain on the older version, if I was so lucky to find a cache. It´s still very good in Caffenol. I did however develop the two films (very) slightly differently.

Modern Tri-X, exposed at EI400, in Caffenol-C-H(RS) and 0.7g/l of Potassium Bromide (KBr). A small recap of the RS recipe bottom of post.

14 minutes and 30 seconds @ 20C/68F. 12 initial inversions, and 3 every top of the minute as usual, save the last at 14 minutes (i.e. stand from 13 minutes). Water stop, 1 minute. Normal fixing and washing. All at as close to 20C/68F as possible.

Modern Tri-X, box speed, Caffenol-C-H(RS), 14m30s @ 20C. DIY 6x17 Camera
Click on the pictures, they are large and you will see just how good Tri-X can be. I really got lucky on these. Shot with my DIY 6x17

A prior attempt to expose a roll of Trix met with just about every problem in the book. Firstly the back on the Super 66 has developed a light leak. Luckily the frame shown below, and the first frame are exempt from damage, all the others are not.Secondly the first 5 frames of the film, all have a dark lower 1/4. Why is a mystery. Again this frame went clear.
Thirdly the self timer switch on the leaf shuttered lens got engaged without me noticing. Once I thought I had the shot in the bag (the mirror swinging up makes a loud kaaawhuump) and I started to walk away I heard the dreadful sound of the timer clockwork. I rushed back and reframed blind (the mirror was still up of course, obscuring the view, so why am I looking into the viewfinder?). And better framing than this is difficult even with finder. Missed the focus by a foot though. So now my reflection is more in focus than I had hoped. Ah well, that´s Sod´s law I suppose.
But back to business. This is the older emulsion, and yes there is slightly more grain, but still very good for a 400 speed film. Tonality is good. Due to the problems with exposing this film, the example frame is not the best.
Again, Caffenol-C-H(RS), this time with 1.2g/l KBr. All else equal.
Old Tri-X, box speed, Caffenol-C-H(RS), 14m30s @ 20C. Kowa Super 66 w/150mm f3.5

Caffenol-C-H vs C-H(RS)
In a 1 liter solution, each:
Sodium Carbonate, anhydrous 54g - 40g
Ascorbic acid 16g - 16g
Instant coffee 40g - 40g
Potassium Bromide (KBr) whatever, same for both. Between 0.6 and 1.5g/l depending on emulsion.

As you can see, only the amount of soda (sodium carbonate) is reduced. This lowers the pH, makes the developer less active. My experience says it´s still active enough. I haven´t really adapted my times much.
Benefits over regular C-H (same applies for C-M(RS) over C-M). I find grain is slightly less pronounced, and the tonal gradation is smoother, slightly less contrast maybe. 
With regards to the two Tri-X versions. Both are perfectly good films. I´ve already ordered a couple of bricks of modern Tri-X. ;)

Sunday, 6 November 2011

Some catching up to do

Summer has been about all things not Caffenol, or anything DIY at all. Not had the time nor energy to do much testing. Though a few films have been given the once over.

Those that met with success are:

In 135:
Efke KB100, EI200 in Caffenol-C-M (RS), 14 min @ 20C

Leica M4-2, Voigtländer Ultron 28 f1.9, Efke KB100, Caffenol-C-M (RS)

ERA100 @ EI100, Caffenol-C-M,13:30min @ 20C


Royal 35-M, ERA 100, Caffenol-C-M


Agfa APX 400, Caffenol-C-H, 13min @ 20C


Leica M4-2, VC Ultron 28mm/f1.9. APX 400, Caffenol-C-H

In 120:

Fuji Neopan 400 @ EI400, Caffenol-C-L semistand, 60min @ 20C. Forgot to add bromide, and yet the negatives came out without streaks and the base fog was well under control. Strange.

Kalloflex K2, Neopan 400, Caffenol-C-L

Ilford Delta 400 @ EI800, Caffenol-C-L, 5min presoak, 60min semistand @ 20C

Kalloflex K2, Delta 400, Caffenol-C-L

Lately had a couple of mishaps with Caffenol-C-L. I think I know why. Storing ready mixed solutions for a long time may work with the more concentrated versions, but not for C-L. There you need freshly made solutions, the tolerances are much lower, and any oxidisation or depletion of the substances will have a big effect on the result. C-M/H versions are much more robust to variations in pH.

Thursday, 5 May 2011

I Adore, the 6x17 camera

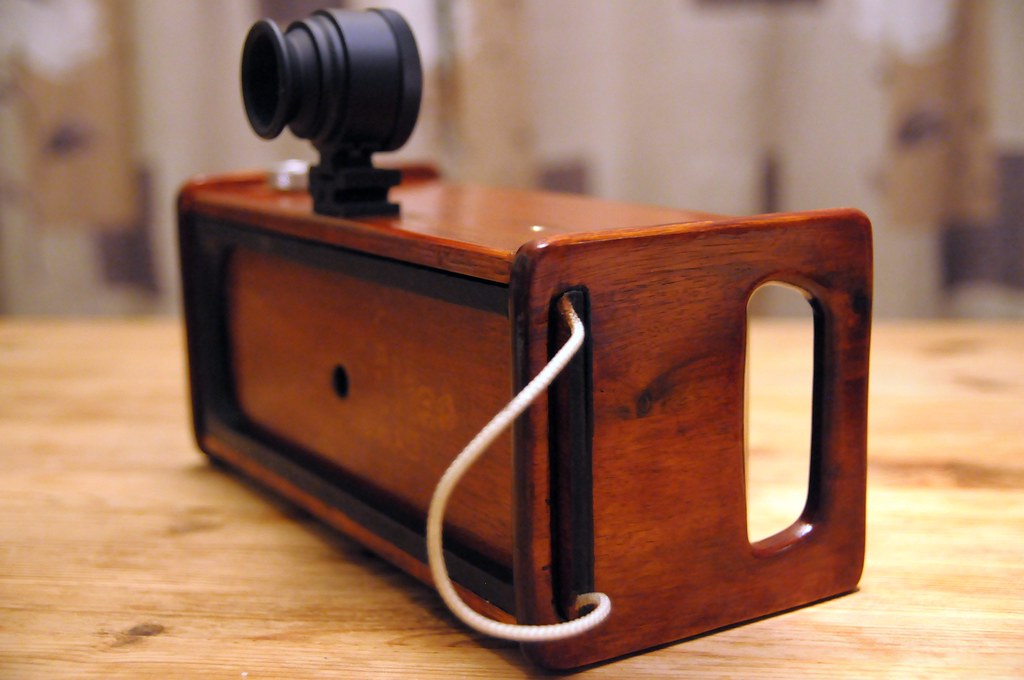
The "I Adore" front (notice the sliding back door cover protruding from the side handle)

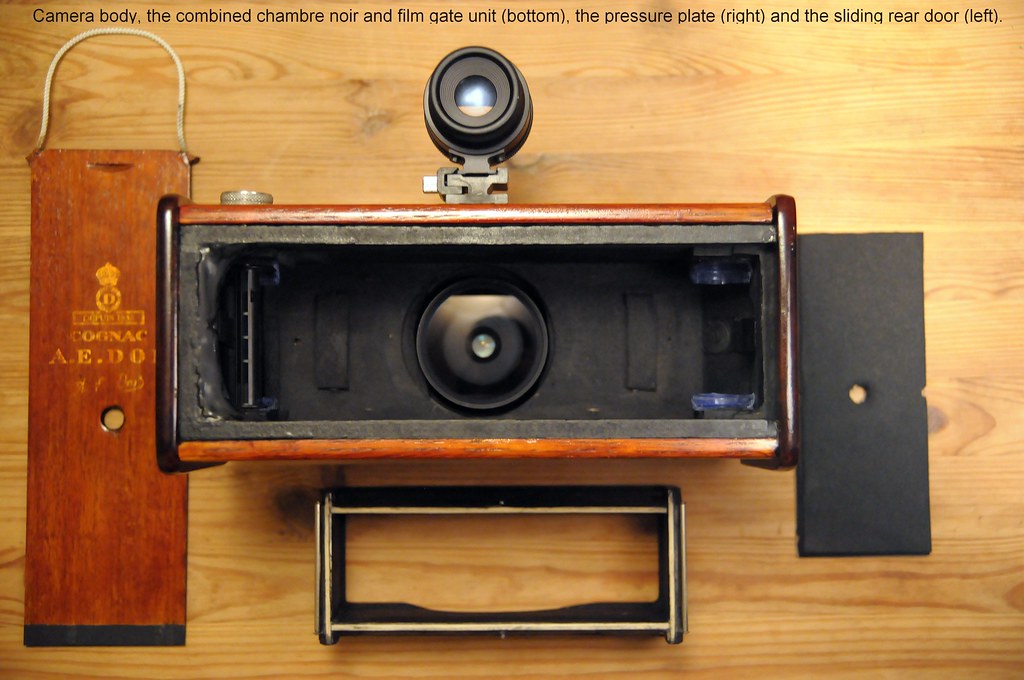
When I built my first DIY camera I started the project with the intention of building a 6x17. Somewhere down the road I convinced myself that building a multi format camera would be a better idea. Sooner or later I had to rectify this misconception. Don´t get me wrong, I loved building the 4x5/6x12 P+S, but I have to try out 6x17 one way or the other. The idea resurfaced one evening when looking at two bottles of Cognac in their wooden cases. The cases looked to be a good starting points for a panoramic camera. There had be some rather peculiar design points. For one the back has to have to slide into place, meaning the pressure plate has to have to be detached from the back. I had to make a light box/mask that can be removed in order to gain access to the film spools (tight fit). I´ve scrounged parts from an old Genos Rapid, the film rollers, the film tensioners, the red film counter window, the winder knob and so on. I've used the same lens and helical (mounted on a Linhof lens board) as for the P+S. Getting the thing light tight was the main challenge, but hey - thats half the fun. Luckily an acquaintance of mine has sent me 10 rolls of expired film I can play around with for testing purposes.

The A E Dor ( I Adore ) case was the better of the two and formed the basis for the light tight chamber. I chamfered the front corners and crafted two hardwood handles for the side walls, one of which has a slit to accept the sliding rear door. I clad front, top and bottom in oak. I made a combined chambre noir and film gate, removable in order to gain access to the film spool holders (very tight fit), the pressure plate can't be attached to the rear door, so is also removable. Not much to it really.

Some more pictures:


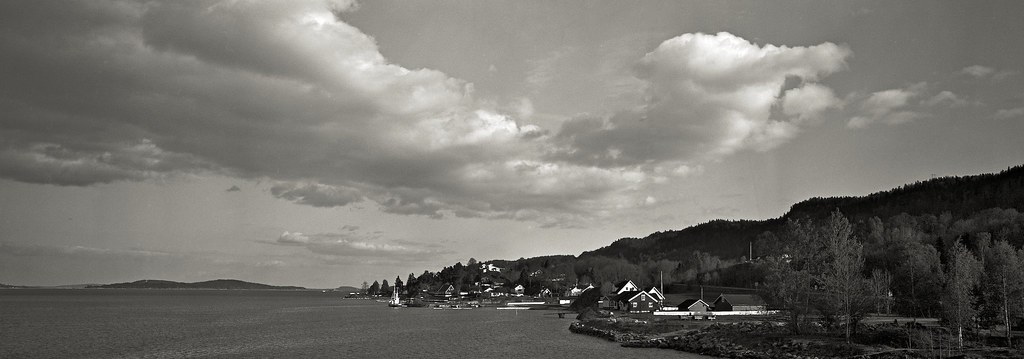
And the first test picture. Forgive the scanning artifacts, I don't have a film holder for 6x17 negs, so it was scanned straight of the glass.

Sande bay, Norway, "I Adore" 6x17, HP5+, EI 400, Caffenol-C-H (RSA) 13min @ 20C, 4min presoak

Saturday, 23 October 2010

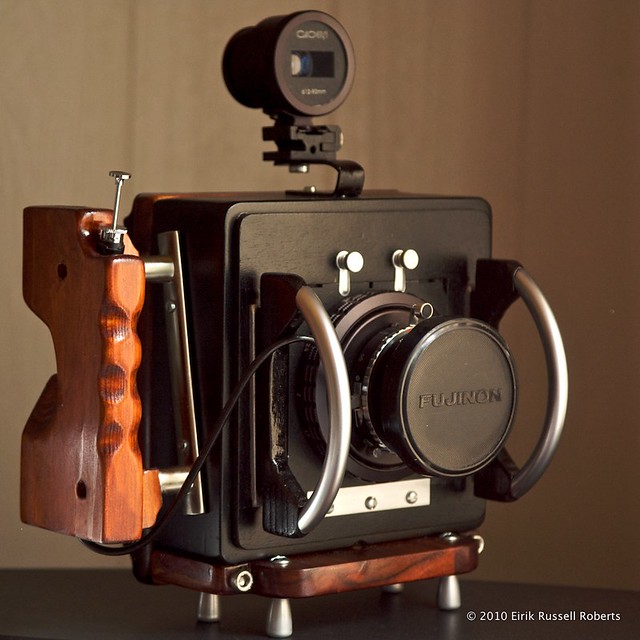
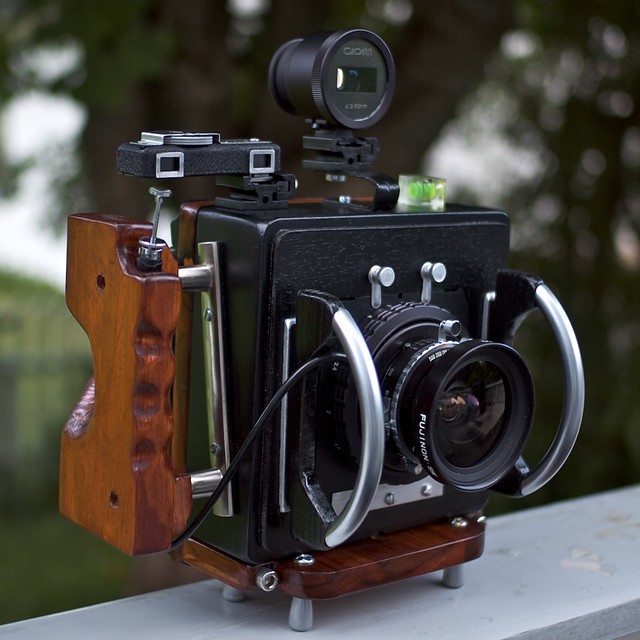
DIY 4x5/6x12 P+S Version 0.4

I´d been pondering over what to do with handle for a while when I came over flickr member "adbieber" creations. A master of camera building and modification. His Nimslo quad lens camera conversion to a 135 film panoramic camera is one such masterpiece: adbiber´s Nimslo panoramic flickr set

I took inspiration from the handle and adapted the design for my purposes. It turned out like this:


And finally I added an accessory shoe for a rangefinder, and added a spirit level:


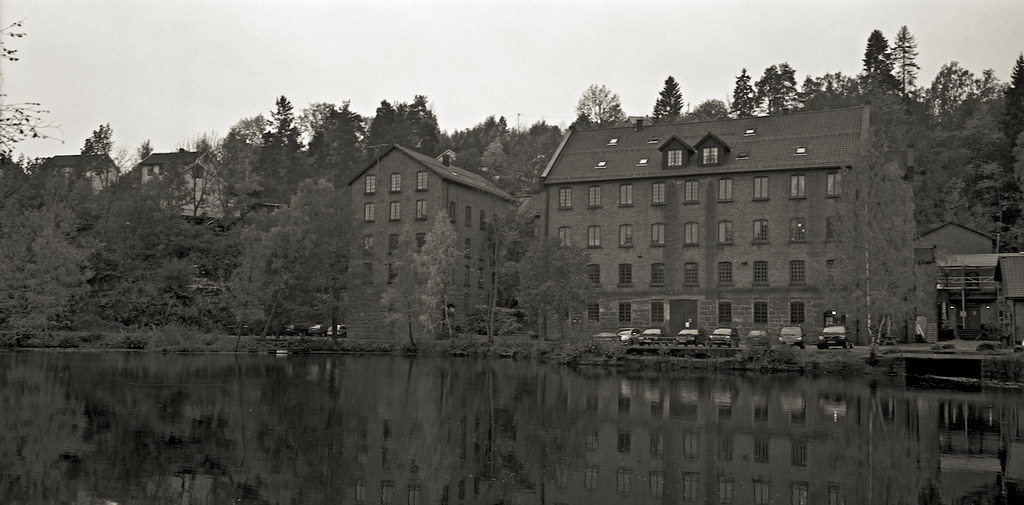
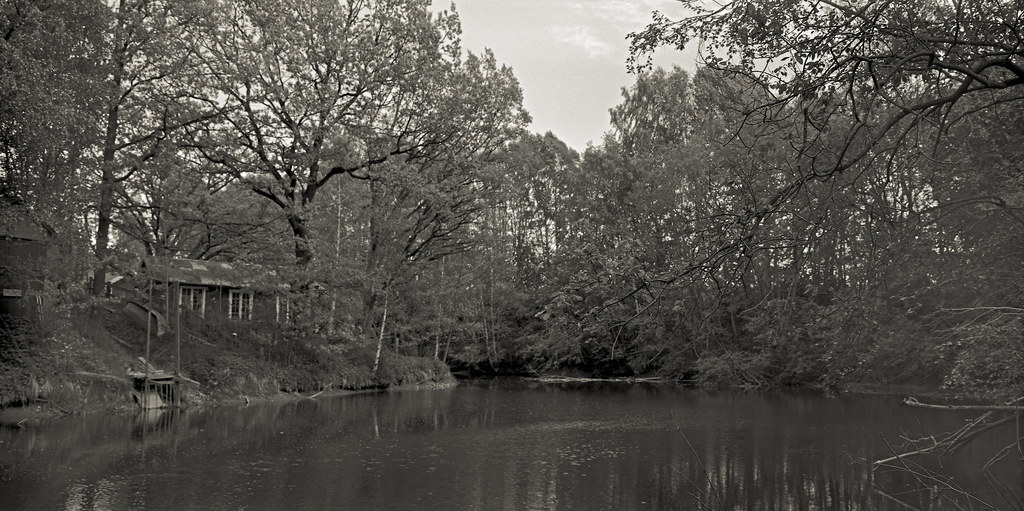
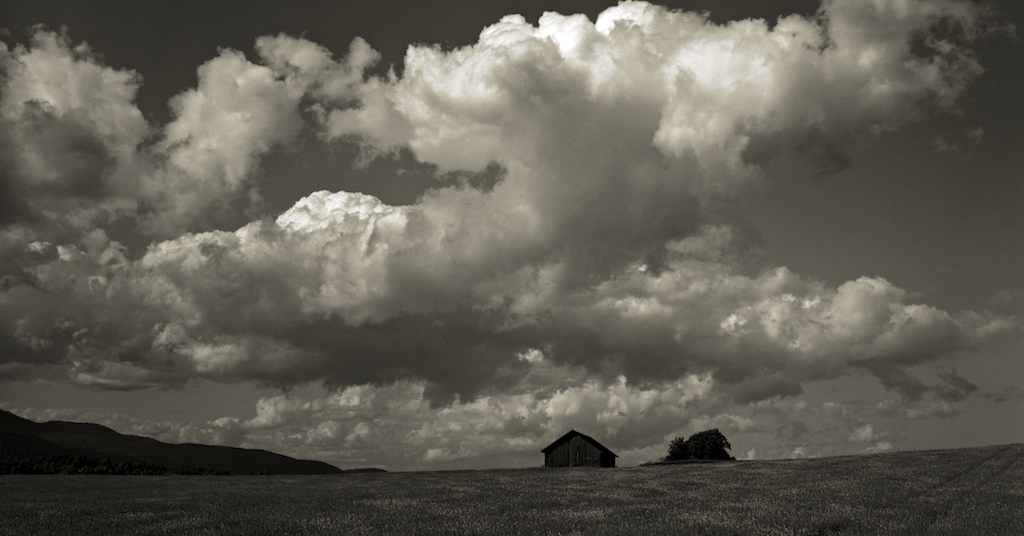
I´ve no desire to modify it more. It works as intended, and even if rather large in size, weighs no more than 2.3kg including roll film back. For a 4x5 camera, I don´t think thats too bad. Instead I´ll be making another camera over the long Norwegian winter. A few shots with the camera as it now stands:


Wednesday, 20 October 2010

DIY 4x5/6x12 P+S Versions 0.2 and 0.3 - and a word or two on collimation

As mentioned the first prototype wasn´t all perfect. More than a few issues. A light leak,  focus was off, viewfinder too elevated, and a handle not to my liking. The focus being off was a bit of a surprise. But after a bit of research I find out why. The Graflok back has a fresnel screen, an option on most ground glass inserts, but not here. Its supposed to be there, not matter what. Its mounted in front of the ground glass, and my collimation efforts were off by nearly 2mm due to me marking the fresnel and not the ground glass. The chambre noir (lens cone) had to be sanded down correspondingly.

Collimation was performed using an SLR with a tele of 300mm. Set this to infinity, your DIY camera lens likewise to infinity. Mount your ground glass with a few X marks centre and in each corner, on the side facing the lens (on plane with the film), and let light shine through the back. Open up the aperture to max, and sight the SLR through the DIY camera lens. If the DIY lens register is spot on you´ll not only see the markings perfectly focused, but even ink blotches, particles of dust on the ground glass. If not shim up the lens cone, or sand it down, depending on if the register needs to be lengthened or shortened.

Ground glass collimation mark in focus
Picture taken, with the SLR, of the centre mark on my ground glass. Once you see the uneven inky blotches, dust spots and even small fibres as in this case, you are not far off. Preferably all marks will look like this. If not the lens is not completely parallel to the film plane.

Next I went over the internal joins in the lens cone with black acrylic putty and remounted the Graflok back with a smear of putty on the mating faces. And then modified the viewfinder mount. The handle required some thought, and was left for a later revision. I added some protection for the lens too. The camera needed a bit of weight towards the front, as with the roll film back mounted it was rear heavy and would tip over. The lens protector bars counterweight the back nicely.

Version 0.2 looked like this:
Version 0.2
I didn´t take many pictures with it in this form as the handle was still a bit of a drawback. After some research and browsing I fell for a design by flickr member "adbieber". Very rectangular and with no rounded corners it was simple, but nice. The camera it is mounted on is decidedly lighter than mine, so I made a few compromises to make the handle slightly less angular. The result can be seen here:

Version 0.3 - new handle

I rather think it is maturing into a rather good looking camera.

Monday, 18 October 2010

DIY 4x5/6x12 P+S Version 0.1 first images

Two images from the first two rolls of film. Unfortunately most images were ruined due to a light leak. I´ve since found out the left hand side of the roll film back does not mate perfectly with the Graflok back letting in light. Need to add som velvet or foam to get it right.

Anyhow, these are shot on TMY-2 and TMX respectively. (click for bigger image)


Sunday, 17 October 2010

Want to build an LF/MF camera. Now what?

I´d come to the conclusion that I´d like to build my own camera. Exactly why is a difficult question to answer, but I´ve always been fond of using my hands and pondering about my own solutions to things. Reading more than 3 photography rags a month I sooner, rather than later had to come over pictures captured by a device I would have to copy. The trigger was a series of Fuji 6x17 pictures taken in the Torres del Paine, and I nearly fell off my perch. I beseeched my fellow RangeFinderForum friends for help. I wanted to build a camera capable of such things. I started a thread entitled: "DIY 6x9 or 6x12 or even 6x17" on the forum. And suggestions soon popped in. One that I´d contemplated initially was to chop two 6x9 folders and join theses together, attaching a large format lens with shutter in front and hey presto! Or build a similar camera from scratch like Dean "Razzledog" Jones unbelievable creations. But I had my doubts. I can´t get myself to chop up an old camera, no matter how dilapidated. Secondly, I´ve not much tools for the metalwork involved. My heart wanted a 6x17, but I understood that a camera with a Graflok 4x5 back would be infinitely more adaptable. You can shoot 4x5 sheet film or add a 120 roll film back and shoot anything from 6x4.5 to 6x12. all in the same camera. If I needed the 1:2.8 ratio, I could always crop to fit. I looked at Sinar Handy and Cambo RS super wide designs, and found a number of very impressive DIY projects on the net mimicking these successfully. The "Dorkasaurus" the "Darth Handy" (look them up) to mention a few. However, many of these required the use of lathes and equipment I neither had, nor wished to invest in. Wooden cameras of similar design could also be found. These designs were more like it, maybe not as good looking, but certainly easier to manufacture with hand tools. Notable designs are the "Neretta" by Sandeha Lynch, a 4x5 "point and shoot" by Nana Sousa Dias, Britt K Leckman´s 4x5 "Pancake Camera"


Version 0.1
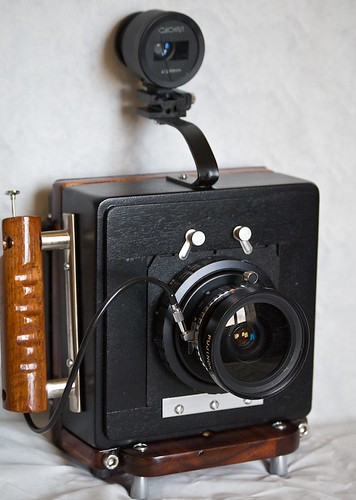
I finally decided to follow this train of thought and not let myself be led astray. I told myself I´ll be making a 4x5 point and shoot type camera, with a LF lens in Copal or Compur shutter, either hyperfocal focusing, or a helical focusing (no bellows here, not this time), built for hand held shooting, yet can also be tripod mounted and finally; no movements. All manufacturing to be done out of wood. I took inspiration from all the cameras mentioned, and then a few. But I copied none. For one thing, it can be dismantled. When I choose to add another lens, I can manufacture a new lens box and reuse the frame, back, foot and viewfinder. The handle will not be detached.

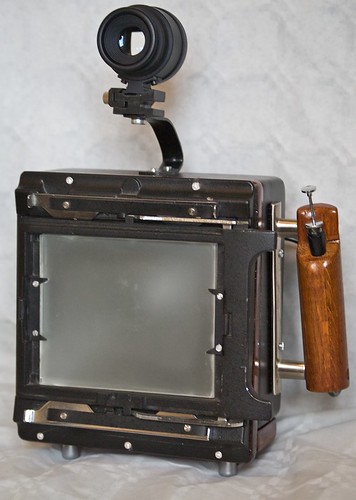
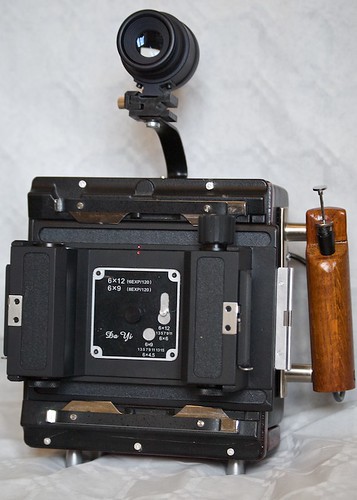
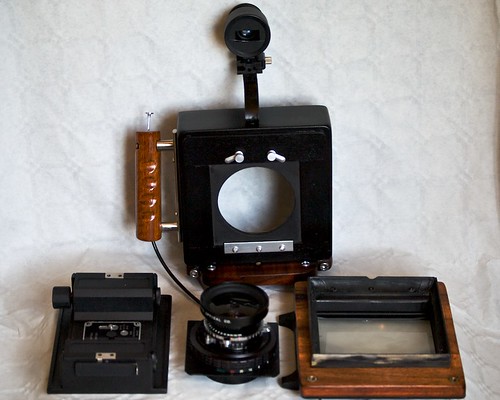
Once the important decisions were made, making the camera wasn´t that difficult. Above right, you can see the first incarnation of the camera. Fuji SW 90/f8 LF lens in a Copal #0 shutter on a helicoid of Chinese manufacture. Mounted on a Linhof type lens board. A chambre noir made out of a flower pot!. A wooden frame to which a Graflok back is attached on one side, and a sub frame come light trap on the other. The chambre noir slides over the subframe and friction holds the two together. A foot added to fill out the space left over, a handle on the right hand side made out of oak.

The viewfinder is raised up so that the roll-film back will not gash my nose, since found unnecessary and modified. Above left you can see the Graflok back with ground glass inserted. And to its right, with the DAYI 6x12 back attached. Below right you can see the different components before assembly. Can be taken apart again in 2 minutes.

However, once put together, and taken out for a test run, there were a few things that needed doing. One, the viewfinder need not be mounted up high (added to parallax issues) the handle was too small and mounted too close the the body. Three, the unavoidable light leak. More on this later.
How do you do it? Well its not difficult really. All you need to make a functional camera is to have a lens, a film holder or transport, a light tight box, a shutter, and the lens mounted at the correct distance to the film plane. Lens, shutter, helicoid and film holder were all purchased from ebay. The viewfinder too, but I could have made one from say a door peep hole lens, or similar. The light tight box is just that a box, open at one end and a fitting for the lens board at the other. The distance from the rear of the shutter to the film plane should be 99.1mm for this particular lens. In practice there may be sample variation, which is why collimating the lens is important. More about that later, too. Tools and materials used:

  • Saw and mitre box
  • Wood files
  • Sandpaper 60, 120, 180 and 600
  • Screwdrivers
  • Drill and drill bits
  • Sander
  • Spirit level
  • Calipers
  • Carpenter´s square
  • Auto paint, wood stain and lacquer
  • Wood glue
  • Assorted woods, a chopping board as frame, oak handle, fir chambre noir.
  • Cupboard door handles and knobs
  • Screws, nuts and bolts.
Time used, 40 hours maybe. Could do it in half that now that I know what I know. Worth it? Well, yes - I think. At least it gave me the taste for shooting film again. It is capable of taking respectable pictures.