Visit my new blog

I´ve decided to split my blog in two. I will continue to post DIY projects and musings here, but (serious) pictures, taken on film of course, will be posted in my new blog "Silver Halides"

I now consider Caffenol to be a developer like any else. As such the new blog will focus more on the pictures, rather than the process.
Showing posts with label 6x12. Show all posts

Friday, 19 April 2013

In time for the Worldwide Pinhole day?

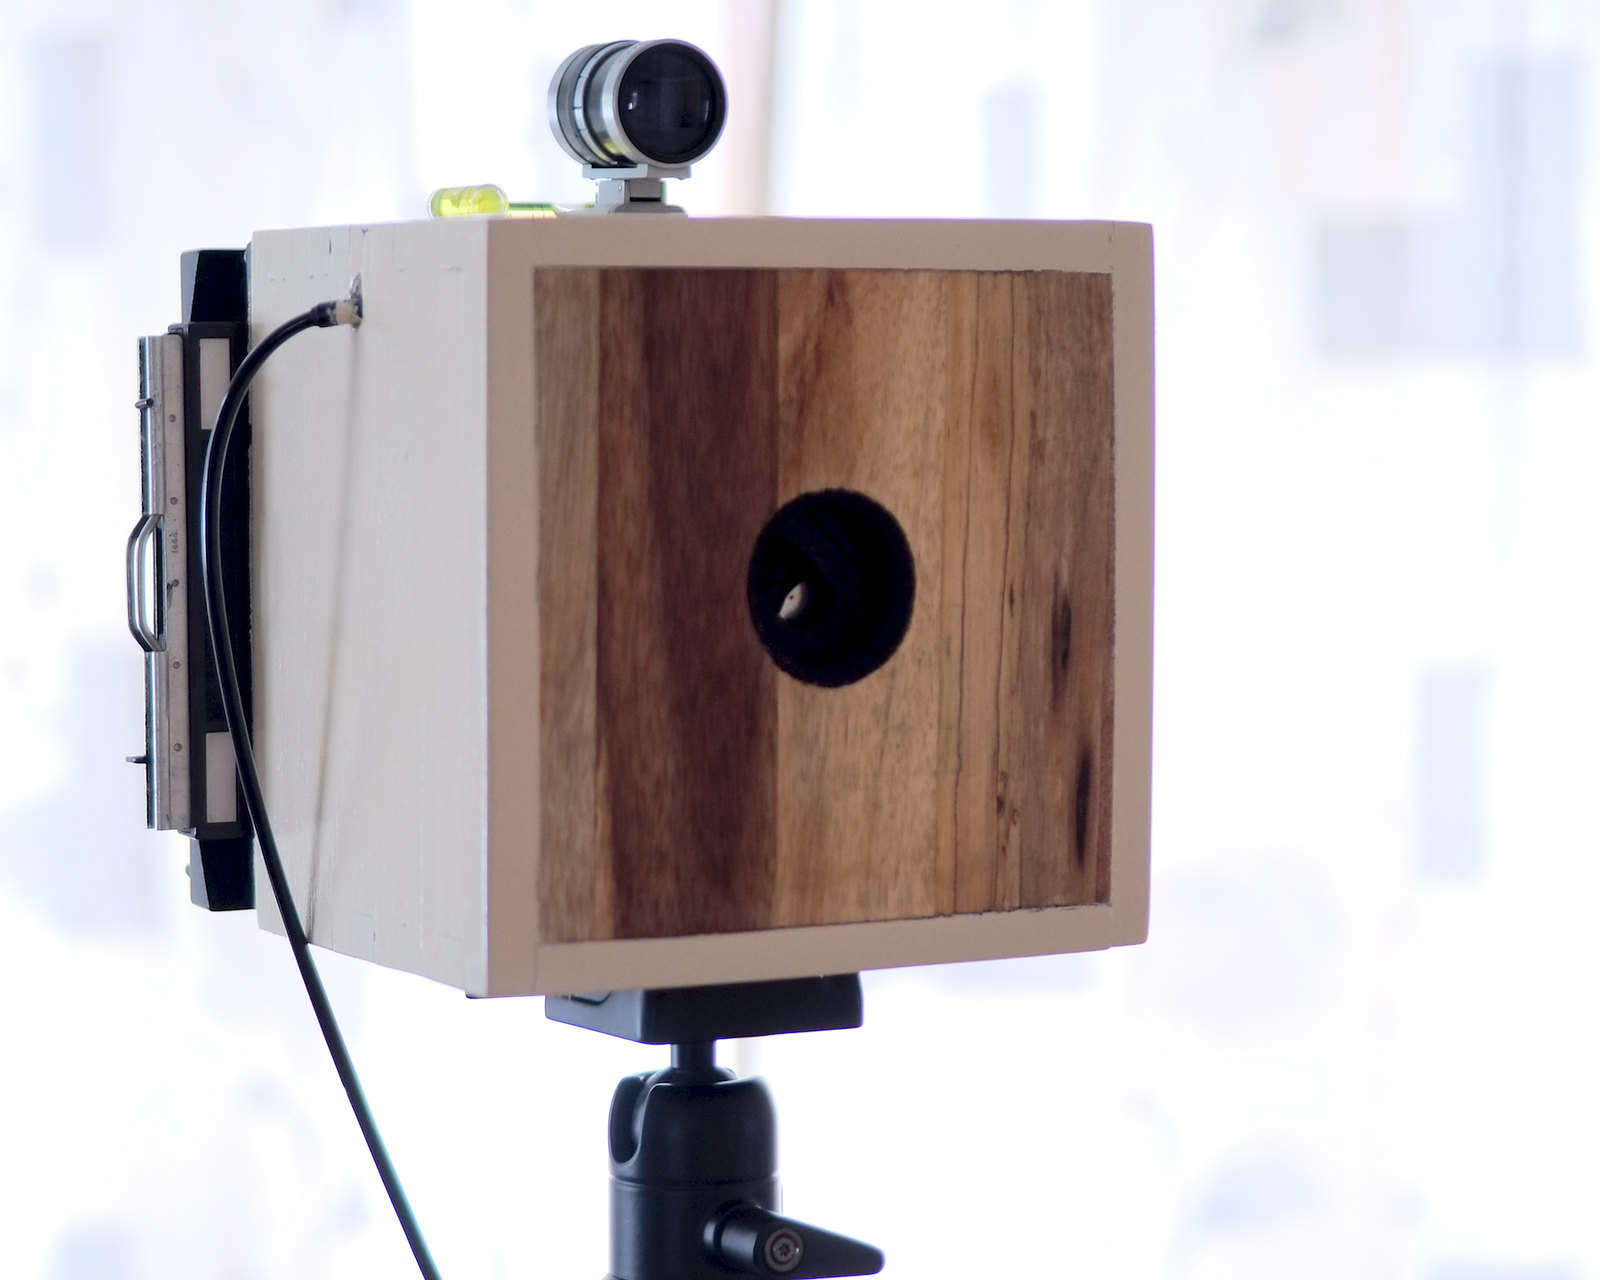
Bad weather over the weekend tends to result in indoor projects of some sort. No backlog of film to develop or scan, so I had to find something else to do. What about a 4x5 Pinhole camera, might indeed be ready in time for Pinhole day on the 28th of April.

I used a well known recipe really, take a Bjurön plant pot from IKEA (same as for my other 4x5 DIY camera) and smack a 4x5 Graflok compatible back on it and you have the beginnings of a camera. Drill a hole in the other end and cover it with a piece of foil punctured by a pin, and there you have it. That would have taken but an hour or so. But I had to make things a bit more difficult for myself by adding an internal shutter, actuated by a release cable. In fact that took more than a few hours, indeed half the weekend. Worked fine indoors, but when I finally went out to take some test shots it failed. Which meant I had to use the dark slide as a shutter, giving questionable results. Needed to rethink the shutter construction some, and now it works.

Details:

  • Sinar 4x5 back, has the advantage of being very compact - and fits the Bjurön plant pot very nicely. 
  • 118mm focal length, 32mm 135/35mm film equivalent when shot on 4x5
  • First pin hole was 0.5mm (f236) - a bit on the big side.
  • Current pin hole is 0.4mm (f296)
4x5 Pinhole, shutter open
4x5 Pinhole. Cambo back. Shutter release cable enters body
Shutter as seen from the rear, slider with opening can be seen protruding on each side

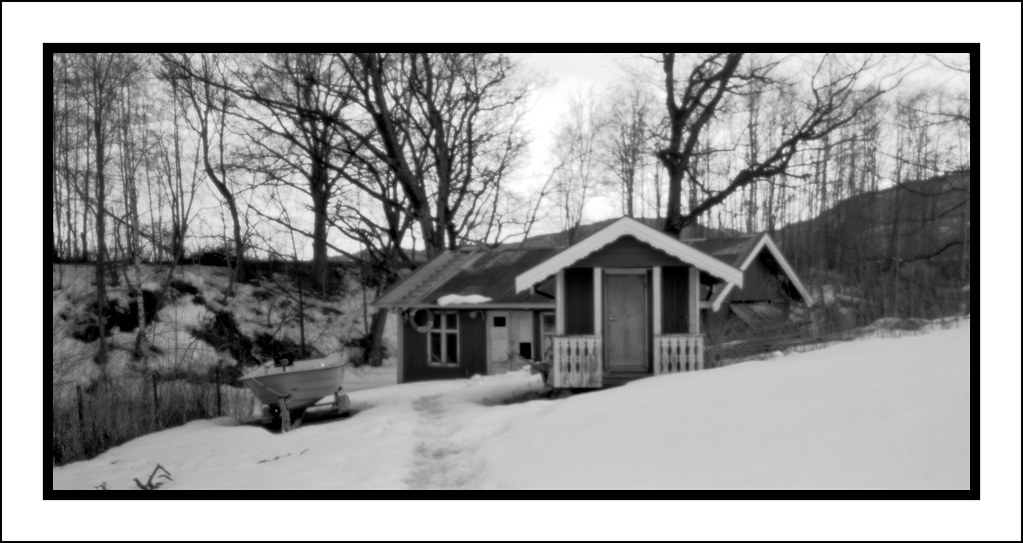
First test shots on a DAYI 6x12 roll film back, awaiting delivery of some 4x5 film.

6x12 test shot, dark slide as shutter, 0.500mm pinhole

6x12 test shot, revised shutter and 0.400mm pinhole


Saturday, 23 October 2010

DIY 4x5/6x12 P+S Version 0.4

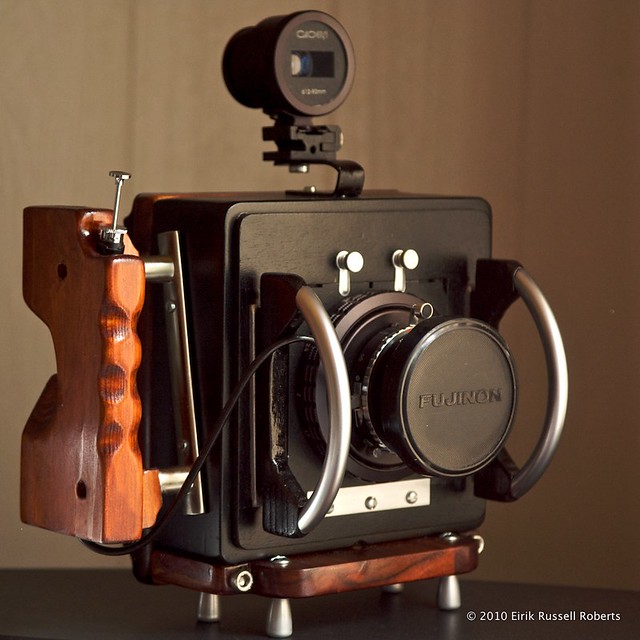
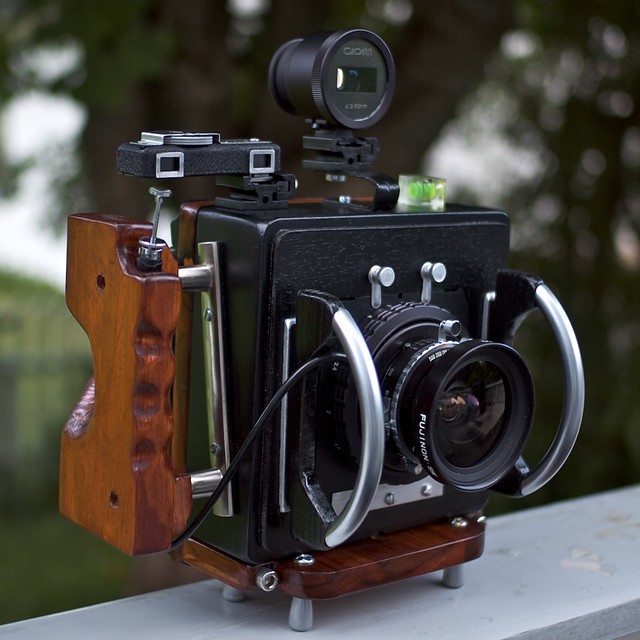
I´d been pondering over what to do with handle for a while when I came over flickr member "adbieber" creations. A master of camera building and modification. His Nimslo quad lens camera conversion to a 135 film panoramic camera is one such masterpiece: adbiber´s Nimslo panoramic flickr set

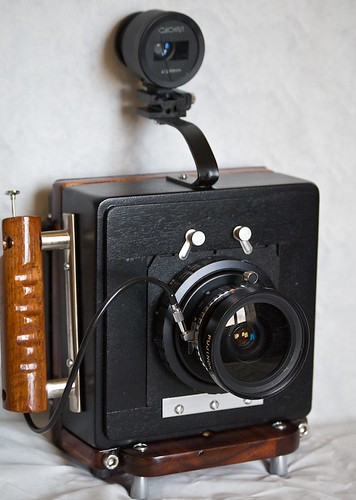
I took inspiration from the handle and adapted the design for my purposes. It turned out like this:


And finally I added an accessory shoe for a rangefinder, and added a spirit level:


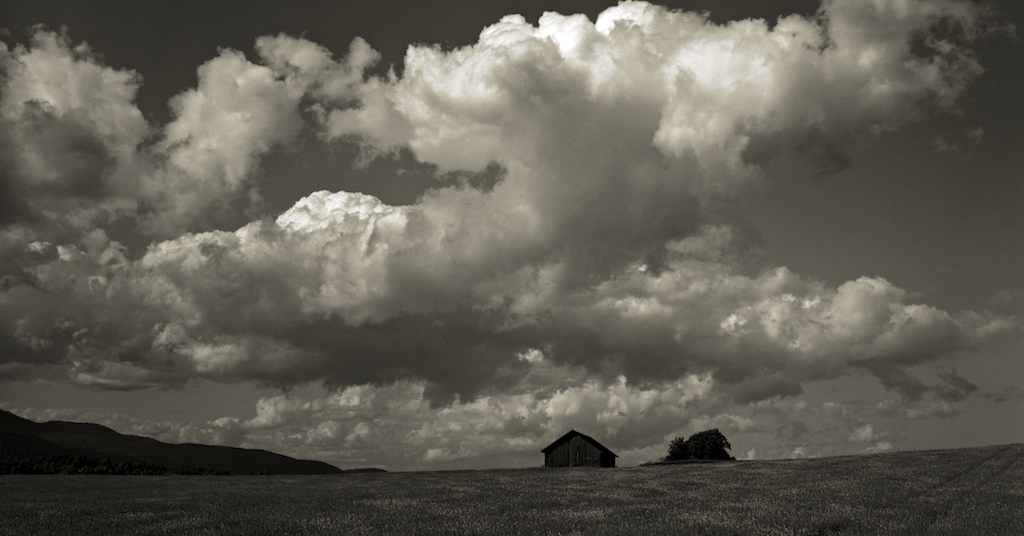
I´ve no desire to modify it more. It works as intended, and even if rather large in size, weighs no more than 2.3kg including roll film back. For a 4x5 camera, I don´t think thats too bad. Instead I´ll be making another camera over the long Norwegian winter. A few shots with the camera as it now stands:


Wednesday, 20 October 2010

DIY 4x5/6x12 P+S Versions 0.2 and 0.3 - and a word or two on collimation

As mentioned the first prototype wasn´t all perfect. More than a few issues. A light leak,  focus was off, viewfinder too elevated, and a handle not to my liking. The focus being off was a bit of a surprise. But after a bit of research I find out why. The Graflok back has a fresnel screen, an option on most ground glass inserts, but not here. Its supposed to be there, not matter what. Its mounted in front of the ground glass, and my collimation efforts were off by nearly 2mm due to me marking the fresnel and not the ground glass. The chambre noir (lens cone) had to be sanded down correspondingly.

Collimation was performed using an SLR with a tele of 300mm. Set this to infinity, your DIY camera lens likewise to infinity. Mount your ground glass with a few X marks centre and in each corner, on the side facing the lens (on plane with the film), and let light shine through the back. Open up the aperture to max, and sight the SLR through the DIY camera lens. If the DIY lens register is spot on you´ll not only see the markings perfectly focused, but even ink blotches, particles of dust on the ground glass. If not shim up the lens cone, or sand it down, depending on if the register needs to be lengthened or shortened.

Ground glass collimation mark in focus
Picture taken, with the SLR, of the centre mark on my ground glass. Once you see the uneven inky blotches, dust spots and even small fibres as in this case, you are not far off. Preferably all marks will look like this. If not the lens is not completely parallel to the film plane.

Next I went over the internal joins in the lens cone with black acrylic putty and remounted the Graflok back with a smear of putty on the mating faces. And then modified the viewfinder mount. The handle required some thought, and was left for a later revision. I added some protection for the lens too. The camera needed a bit of weight towards the front, as with the roll film back mounted it was rear heavy and would tip over. The lens protector bars counterweight the back nicely.

Version 0.2 looked like this:
Version 0.2
I didn´t take many pictures with it in this form as the handle was still a bit of a drawback. After some research and browsing I fell for a design by flickr member "adbieber". Very rectangular and with no rounded corners it was simple, but nice. The camera it is mounted on is decidedly lighter than mine, so I made a few compromises to make the handle slightly less angular. The result can be seen here:

Version 0.3 - new handle

I rather think it is maturing into a rather good looking camera.

Monday, 18 October 2010

DIY 4x5/6x12 P+S Version 0.1 first images

Two images from the first two rolls of film. Unfortunately most images were ruined due to a light leak. I´ve since found out the left hand side of the roll film back does not mate perfectly with the Graflok back letting in light. Need to add som velvet or foam to get it right.

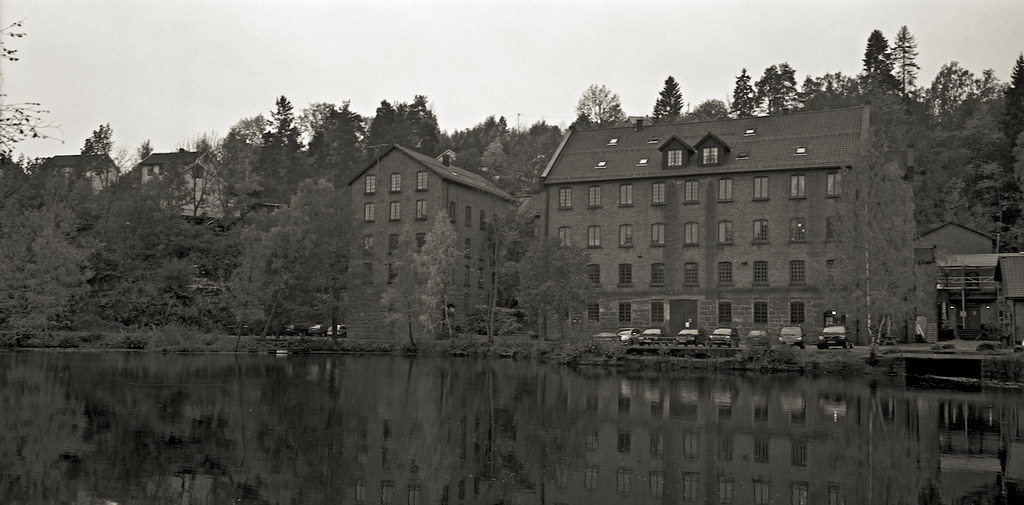
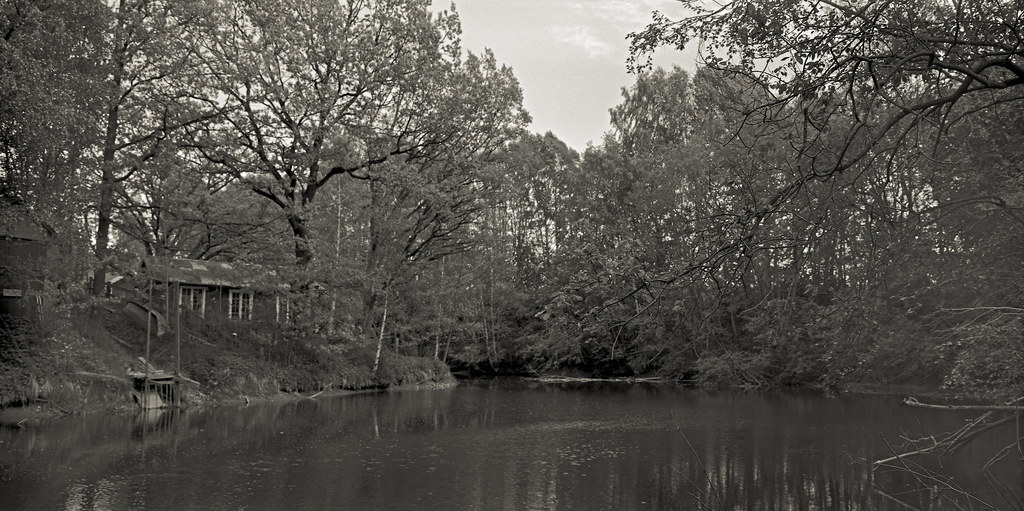
Anyhow, these are shot on TMY-2 and TMX respectively. (click for bigger image)


Sunday, 17 October 2010

Want to build an LF/MF camera. Now what?

I´d come to the conclusion that I´d like to build my own camera. Exactly why is a difficult question to answer, but I´ve always been fond of using my hands and pondering about my own solutions to things. Reading more than 3 photography rags a month I sooner, rather than later had to come over pictures captured by a device I would have to copy. The trigger was a series of Fuji 6x17 pictures taken in the Torres del Paine, and I nearly fell off my perch. I beseeched my fellow RangeFinderForum friends for help. I wanted to build a camera capable of such things. I started a thread entitled: "DIY 6x9 or 6x12 or even 6x17" on the forum. And suggestions soon popped in. One that I´d contemplated initially was to chop two 6x9 folders and join theses together, attaching a large format lens with shutter in front and hey presto! Or build a similar camera from scratch like Dean "Razzledog" Jones unbelievable creations. But I had my doubts. I can´t get myself to chop up an old camera, no matter how dilapidated. Secondly, I´ve not much tools for the metalwork involved. My heart wanted a 6x17, but I understood that a camera with a Graflok 4x5 back would be infinitely more adaptable. You can shoot 4x5 sheet film or add a 120 roll film back and shoot anything from 6x4.5 to 6x12. all in the same camera. If I needed the 1:2.8 ratio, I could always crop to fit. I looked at Sinar Handy and Cambo RS super wide designs, and found a number of very impressive DIY projects on the net mimicking these successfully. The "Dorkasaurus" the "Darth Handy" (look them up) to mention a few. However, many of these required the use of lathes and equipment I neither had, nor wished to invest in. Wooden cameras of similar design could also be found. These designs were more like it, maybe not as good looking, but certainly easier to manufacture with hand tools. Notable designs are the "Neretta" by Sandeha Lynch, a 4x5 "point and shoot" by Nana Sousa Dias, Britt K Leckman´s 4x5 "Pancake Camera"


Version 0.1
I finally decided to follow this train of thought and not let myself be led astray. I told myself I´ll be making a 4x5 point and shoot type camera, with a LF lens in Copal or Compur shutter, either hyperfocal focusing, or a helical focusing (no bellows here, not this time), built for hand held shooting, yet can also be tripod mounted and finally; no movements. All manufacturing to be done out of wood. I took inspiration from all the cameras mentioned, and then a few. But I copied none. For one thing, it can be dismantled. When I choose to add another lens, I can manufacture a new lens box and reuse the frame, back, foot and viewfinder. The handle will not be detached.

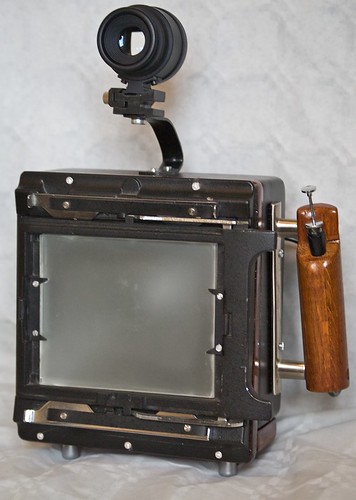
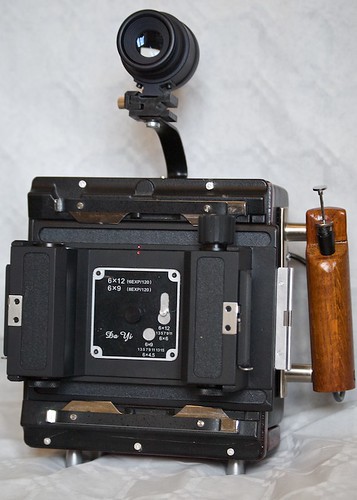
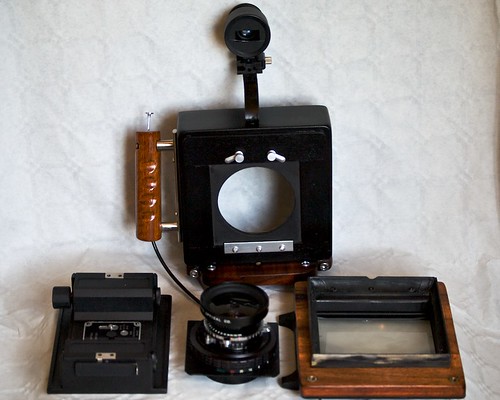
Once the important decisions were made, making the camera wasn´t that difficult. Above right, you can see the first incarnation of the camera. Fuji SW 90/f8 LF lens in a Copal #0 shutter on a helicoid of Chinese manufacture. Mounted on a Linhof type lens board. A chambre noir made out of a flower pot!. A wooden frame to which a Graflok back is attached on one side, and a sub frame come light trap on the other. The chambre noir slides over the subframe and friction holds the two together. A foot added to fill out the space left over, a handle on the right hand side made out of oak.

The viewfinder is raised up so that the roll-film back will not gash my nose, since found unnecessary and modified. Above left you can see the Graflok back with ground glass inserted. And to its right, with the DAYI 6x12 back attached. Below right you can see the different components before assembly. Can be taken apart again in 2 minutes.

However, once put together, and taken out for a test run, there were a few things that needed doing. One, the viewfinder need not be mounted up high (added to parallax issues) the handle was too small and mounted too close the the body. Three, the unavoidable light leak. More on this later.
How do you do it? Well its not difficult really. All you need to make a functional camera is to have a lens, a film holder or transport, a light tight box, a shutter, and the lens mounted at the correct distance to the film plane. Lens, shutter, helicoid and film holder were all purchased from ebay. The viewfinder too, but I could have made one from say a door peep hole lens, or similar. The light tight box is just that a box, open at one end and a fitting for the lens board at the other. The distance from the rear of the shutter to the film plane should be 99.1mm for this particular lens. In practice there may be sample variation, which is why collimating the lens is important. More about that later, too. Tools and materials used:

  • Saw and mitre box
  • Wood files
  • Sandpaper 60, 120, 180 and 600
  • Screwdrivers
  • Drill and drill bits
  • Sander
  • Spirit level
  • Calipers
  • Carpenter´s square
  • Auto paint, wood stain and lacquer
  • Wood glue
  • Assorted woods, a chopping board as frame, oak handle, fir chambre noir.
  • Cupboard door handles and knobs
  • Screws, nuts and bolts.
Time used, 40 hours maybe. Could do it in half that now that I know what I know. Worth it? Well, yes - I think. At least it gave me the taste for shooting film again. It is capable of taking respectable pictures.