 Can now mount just about anything up to 6x9 in 120/220 with the right adapter, not to mention Polaroid backs (like the CB103 pack film back on her now), and even 4x5 (though not covering the frame completely).
The hardest part was manufacturing the adapter plate. I made one that both functions as a mount for the adapter, but is also the side wall of the camera (where the end has been chopped off). The film plane has as a result of the plate and the 600SE adapter been moved back an inch or so, so the end stop for the lens has been moved back correspondingly.
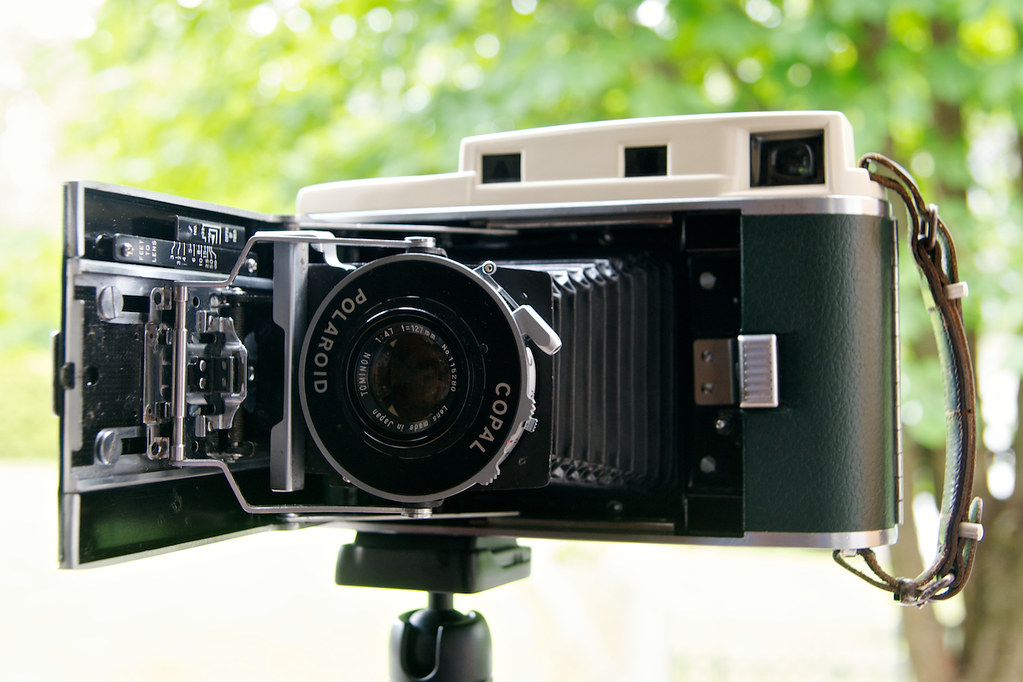
The camera was a bit worse for wear, so she´s been given a good going over. The Ysarex in Compur #0 shutter was a bit gummed up, so exchanged for a Tominon in Copal #1 press shutter. Needed to widen the mount for that. I recovered her in Cameraleather green composite leather (comes in sheets). The top cover has been chopped too, filled, sanded and painted cream. I think she looks quite nice.
 |
| Polaroid 110A w/600SE back adapter - front view Tominon 127mm f4.7 in Copal press shutter |
 |
| Polaroid 110A w/600SE back adapter - front view Tominon 127mm f4.7 in Copal press shutter You can see the end of the camera has been chopped |
 |
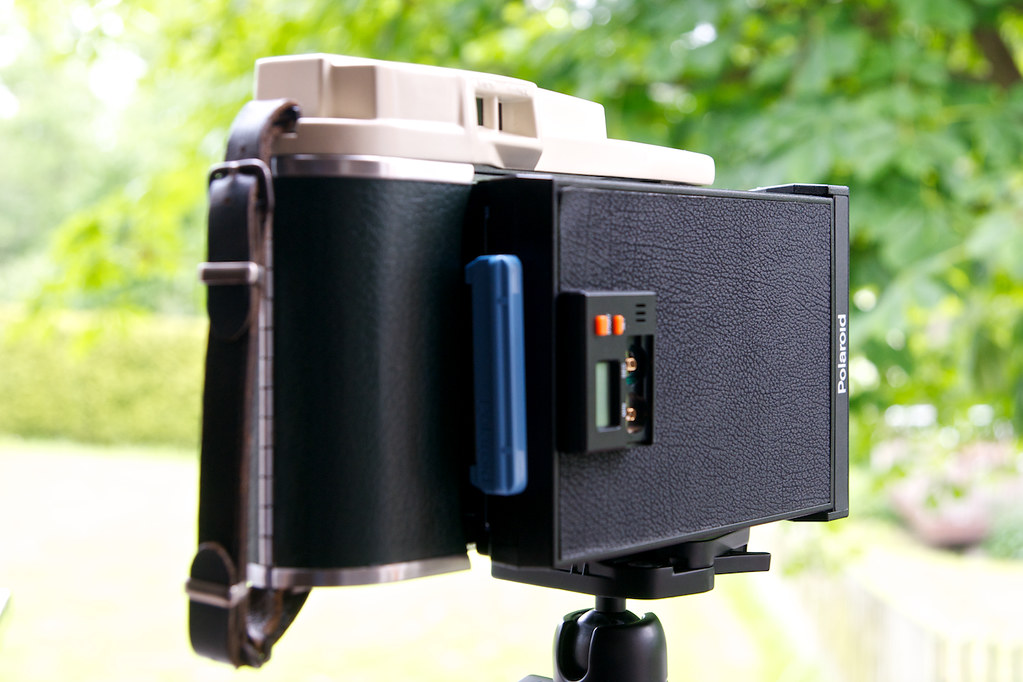
| Polaroid 110A w/600SE back adapter - rear view with CB103 back attached |
 |
| Polaroid 110A w/600SE back adapter - rear view with CB103 back attached |
 |
| Polaroid 110A w/600SE back adapter - rear view 600SE adapter |
Tools used? A Dremel with both cutting disks, and grinding heads comes in handy, set of small screwdrivers, emery cloth and sanding paper (120, 240, 600 and 1200 grit), drill and drill bits, pliers, hack-saw and scissors.
Materials and parts? 110A of course, Polaroid 600SE adapter, CB103 back, (in my case a Tominon in Copal shutter due to iffy shutter on the Rodenstock Ysaron), 1.5mm sheet aluminium (for adapter plate), Cameraleather.com Composite leather covering, paint (cream semi gloss and flat black), Epoxy glues and filler, Sugru, Light sealing material and 3mm machine screws
2012-07-02 UPDATE:
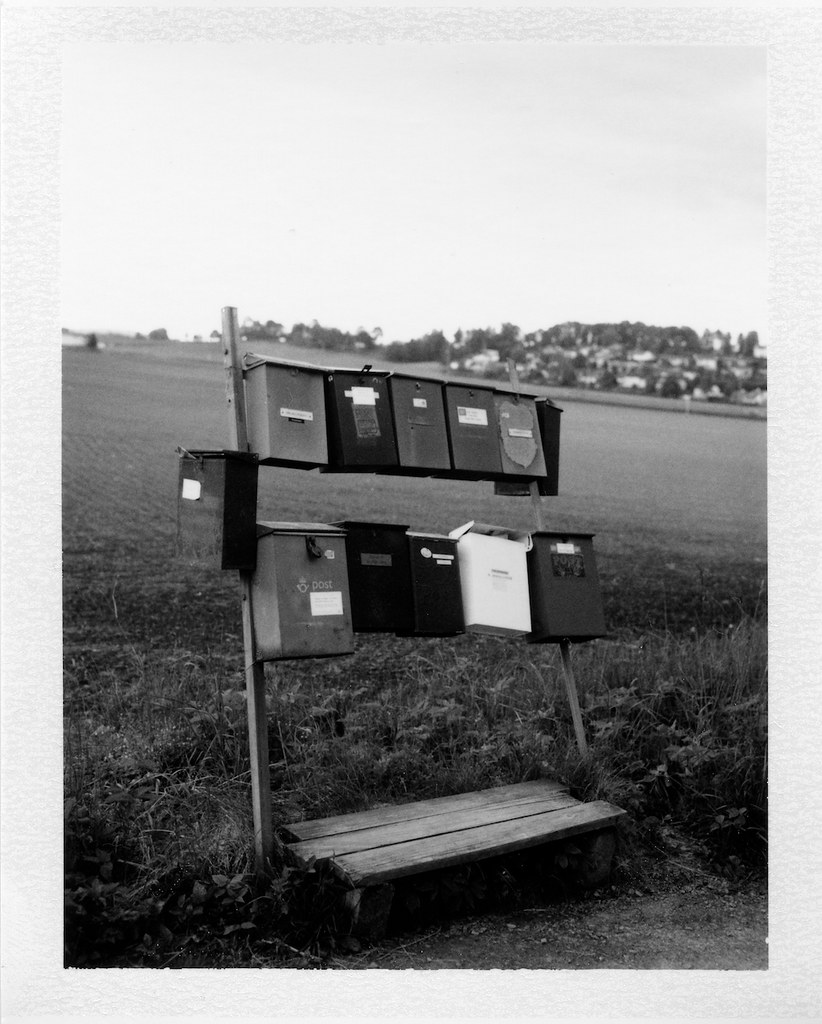
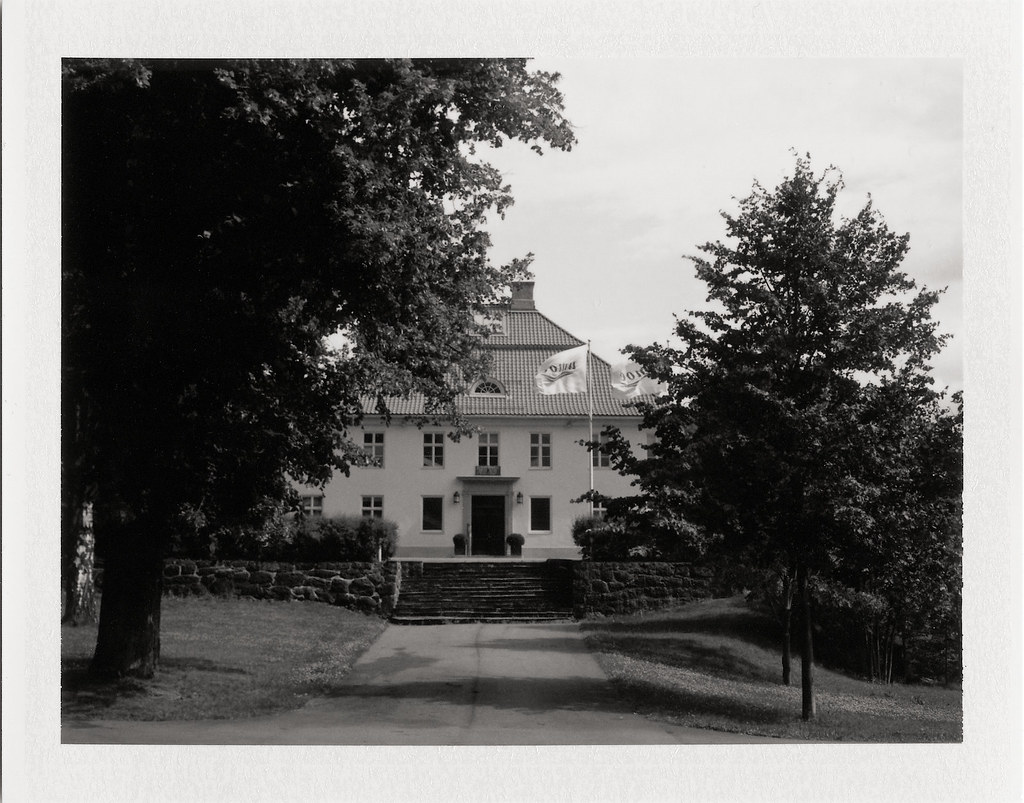
And work it does:
 |
| Lucy the 110A/600SE Hybrid - Fuji FP 3000B |
 |
| Lucy the 110A/600SE Hybrid - Fuji FP 100B |
Hi, I have a question. How exactly did you mount the 600SE adapter to the back of the 110A?
ReplyDeleteHi.
ReplyDeleteThe aluminium sheet used to cover up the end that is chopped off, extends around what was the old film gate. With an opening in it, the same size as the opening of the 600SE back adapter. This is fastened to the camera with 4 machine screws (holes drilled through the the old film gate, making sure they are on the outside of the bellows). The heads can be seen around the edge of the bellows, above and below. I then epoxied nuts to the new frame, to which the adapter can be fastened with 4mm screws if I remember correctly. You can see the heads on the last picture of the camera