Hanging out on Apug can be hazardous to your health. The Scandinavian forum has a few rather enthusiastic members advocating the advantages of brewing your own developer. As self professed DIY'er this sort of thing appeals to me. Reading their input and
Reinhold's Caffenol blogspot convinced me that this is not only possible, but can be advantageous too. Caffenol can act as a speed enhancing developer, and to a certain degree as a compensational developer, allowing shadow areas to develop faster than highlights, making high contrast scenes salvageable, while retaining shadow detail. The ingredients can be found in your local grocery, hardware or pharmacy store. One might not exactly save money compared to a commercial developer, but I was looking forward to the sense of accomplishment one gets when doing things yourself. All developers have a signature of sorts. My current TMAX developer is rather strong on contrast and gives good thick negatives. Which is fine for printing, but not so much for scanning with flatbed scanners (due to their lower DMax ratings). I could of course experiment with different temperatures and dilutions, more or less fixing, different stop baths etc, but that doesn't seem quite as compelling as brewing my own developer. Reinhold's blog has more information on the subject of Caffenol than any other site I´ve found. Armed with the recipes found here, and experiences shared by my fellow Scandinavian Apug members, I went about getting hold of the different ingredients.
Caffenol-C derivatives all require three main ingredients. Vitamin C in addition to the basic original Caffenol ingredients of instant coffee and a pH regulating substance, normally sodium carbonate. The addition of vitamin C makes for faster development times, and it also goes a long way in hindering the coffee staining the negatives. It might introduce haze on some films, but that can be counteracted by using very small amounts of citric acid or potassium bromide. I chose to start with Caffenol-C-H for my TMAX100 and 400 films.
For every litre of ready developer you need the following ingredients:
- 54g of Sodium Carbonate (Washing soda, anhydrous)
- 16g of Ascorbic acid (vitamin C)
- 40g of Instant coffee (the darker and less palatable the better, preferably Robusto coffee as it contains more of the active agent caffeine acid)
- 1-2g of Potassium Bromide*
*TMAX films evidently are not susceptible to haze, so I cut back on the bromide to under 1g/l
Development times vary, depending on the film type and speed, and of course on your own preferences. 15 minutes at 20C/68F is recommended as a starting point. I´d seen examples of decidedly shorter development times that turned out quite nicely, so I thought I´d start off with 11-12 minutes. Thinner negatives would still be scannable, or so I thought.
My first film of TMAX100 I exposed a few scenes bracketed one stop above and below the nominal EI of 100. I dissolved each ingredient separately and bottled them for later use. I took into account the final mixing ratios so I could mix the three main ingredients in equal amounts totaling 490ml, topping off with 10ml of 1g/10ml concentration Potassium Bromide solution. (Hopefully the pre-mixed ingredients will not go bad before I have time to make use of them)
Film loaded in a Paterson 4 tank, 11 minutes development, normal agitation scheme (1min initially, 10s every minute thereafter), water stop bath (1min), TMAX fixer (5min), washing and photo-flow (20min).
How did they turn out? Well, I should have listened to Reinhold. The negatives where thin, a bit too thin. However there were quite a few negatives which were no more difficult to scan and post-process than TMAX developed negatives, just different.
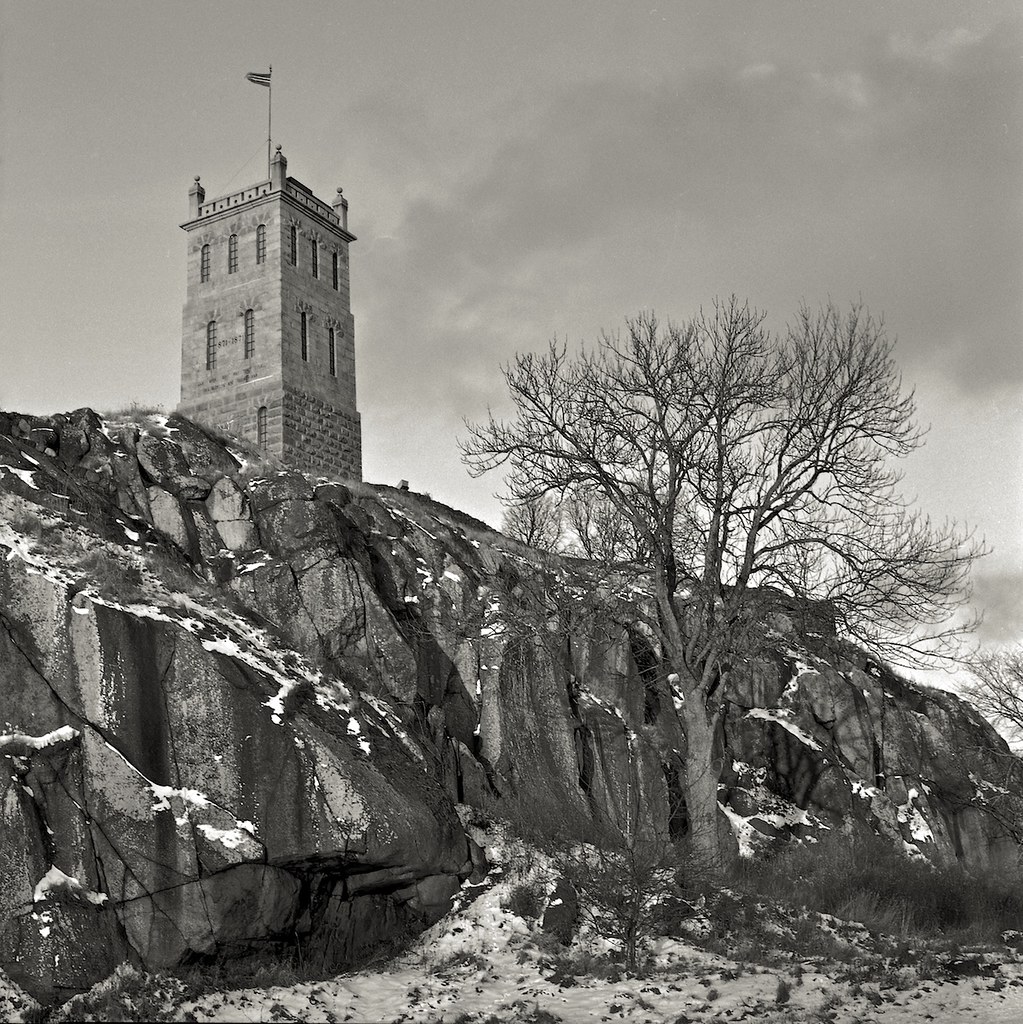
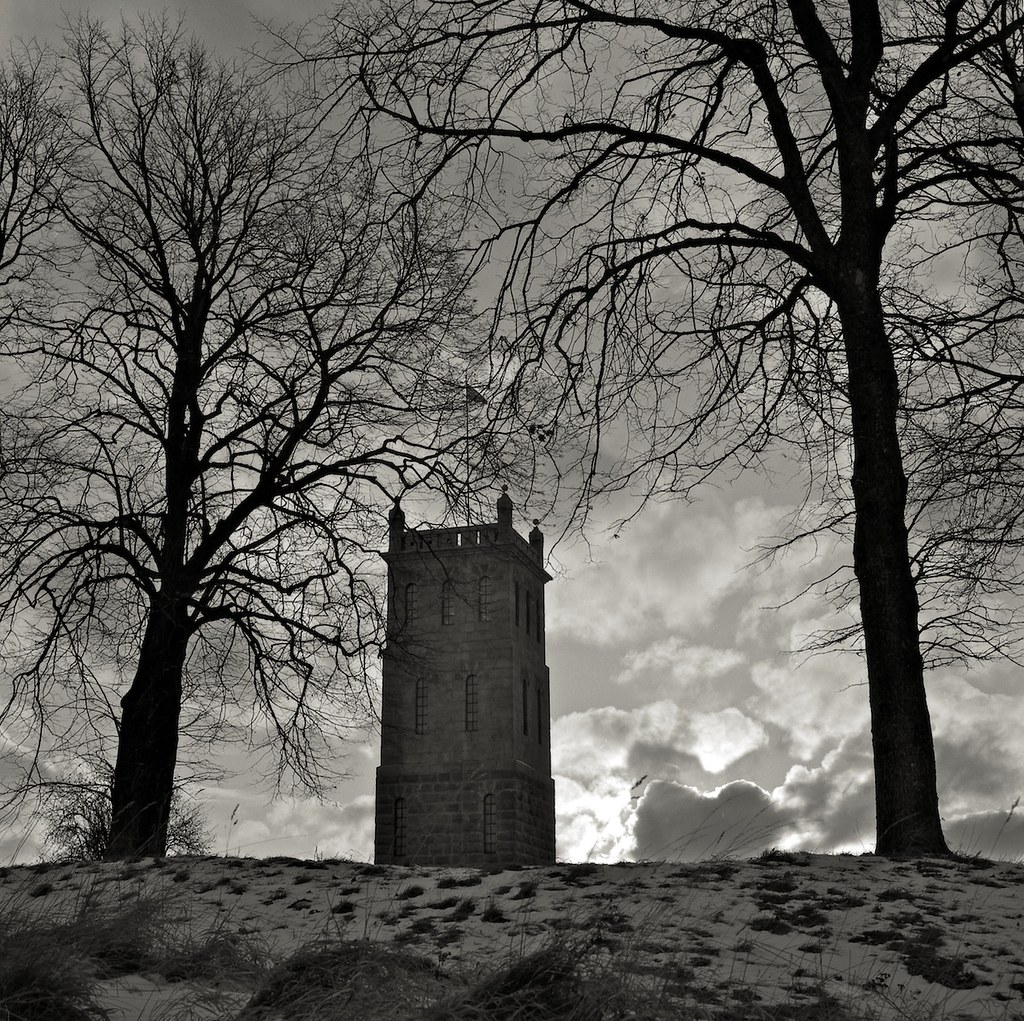
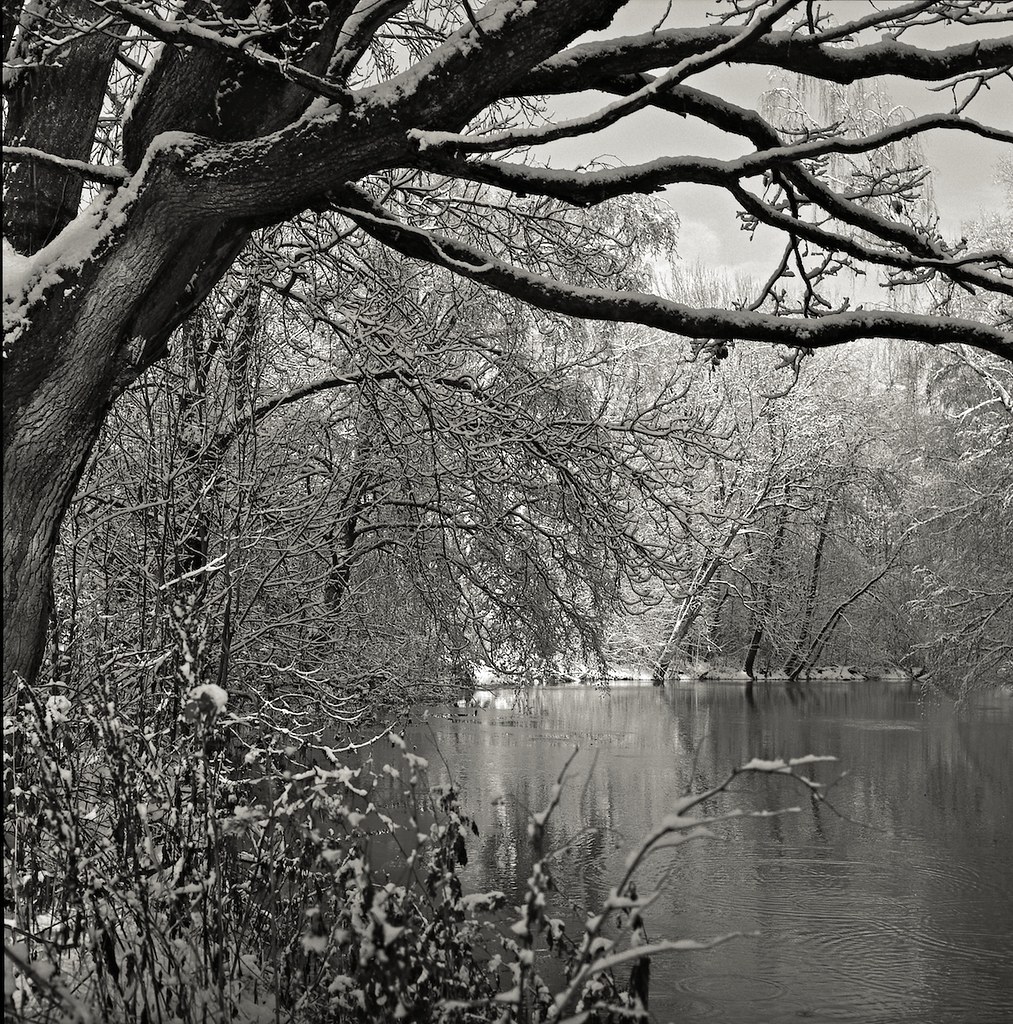
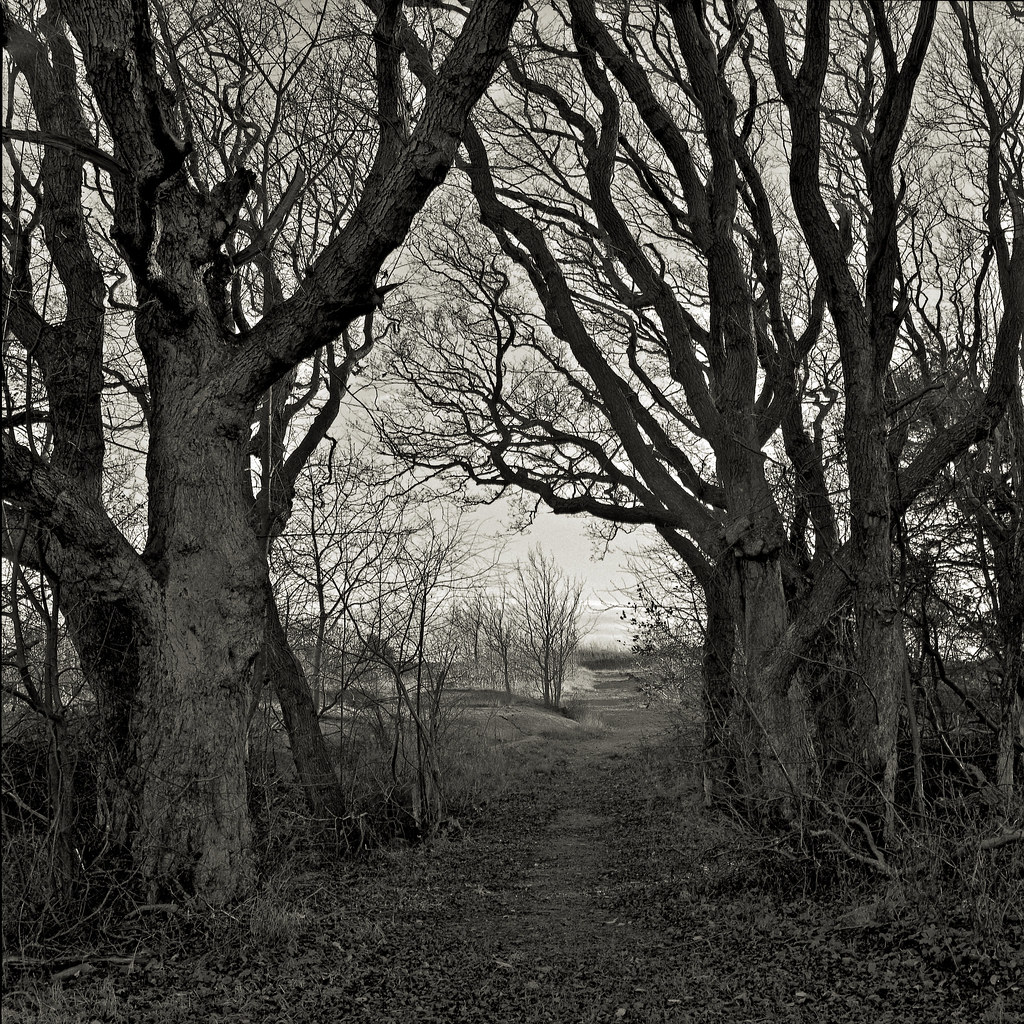
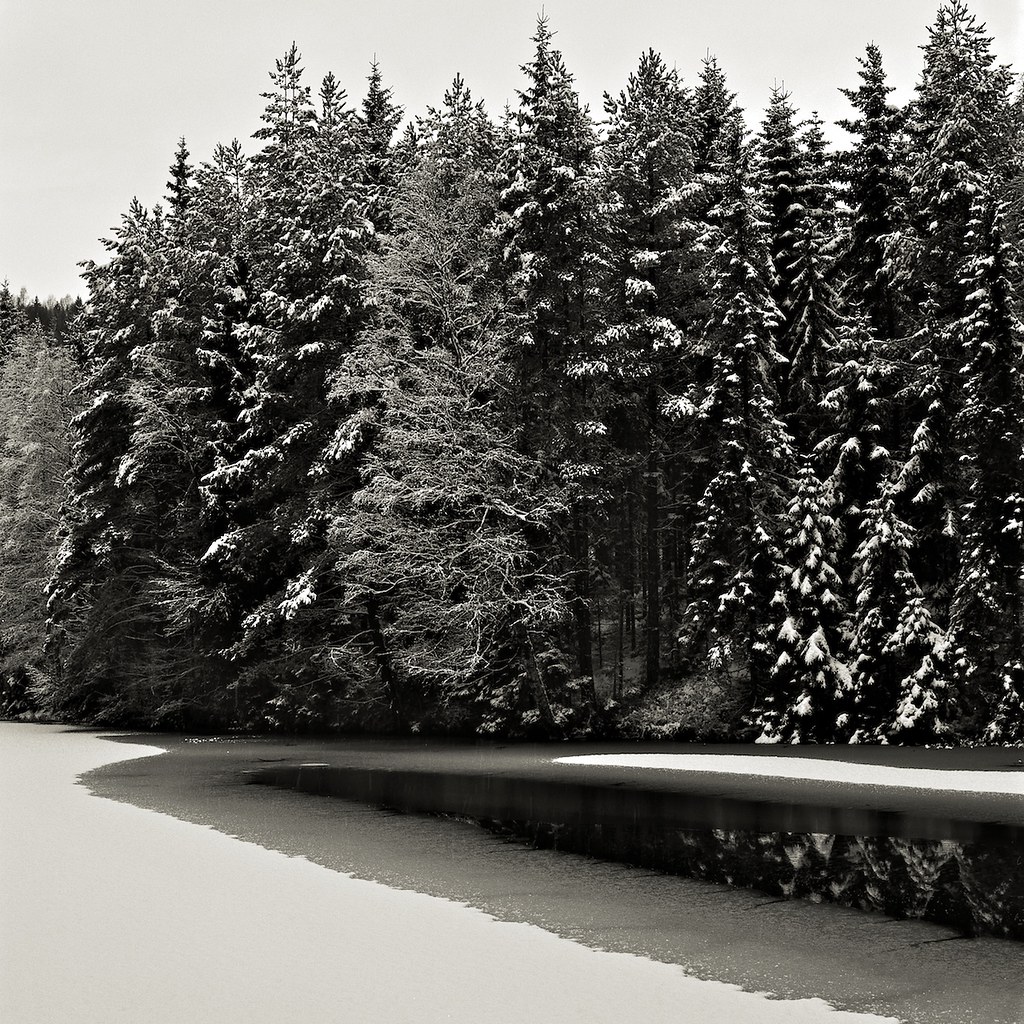
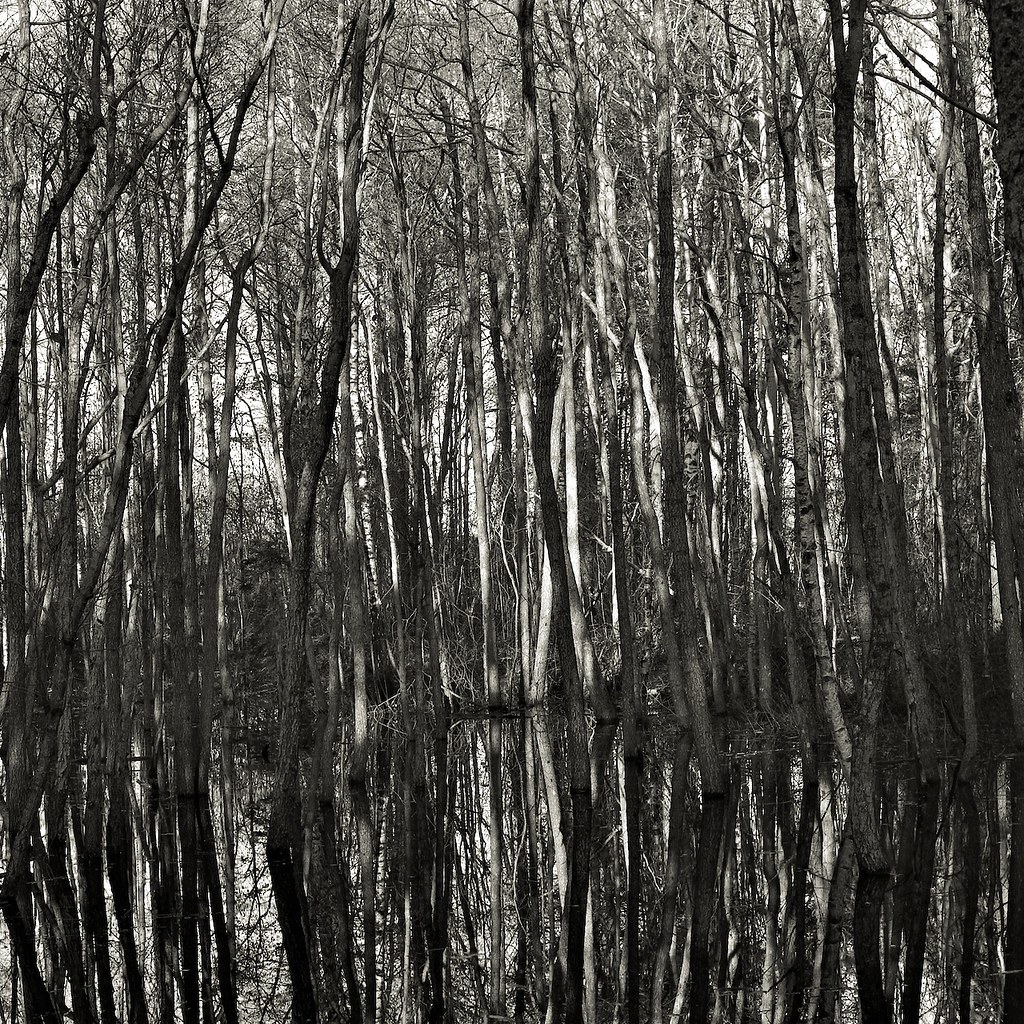
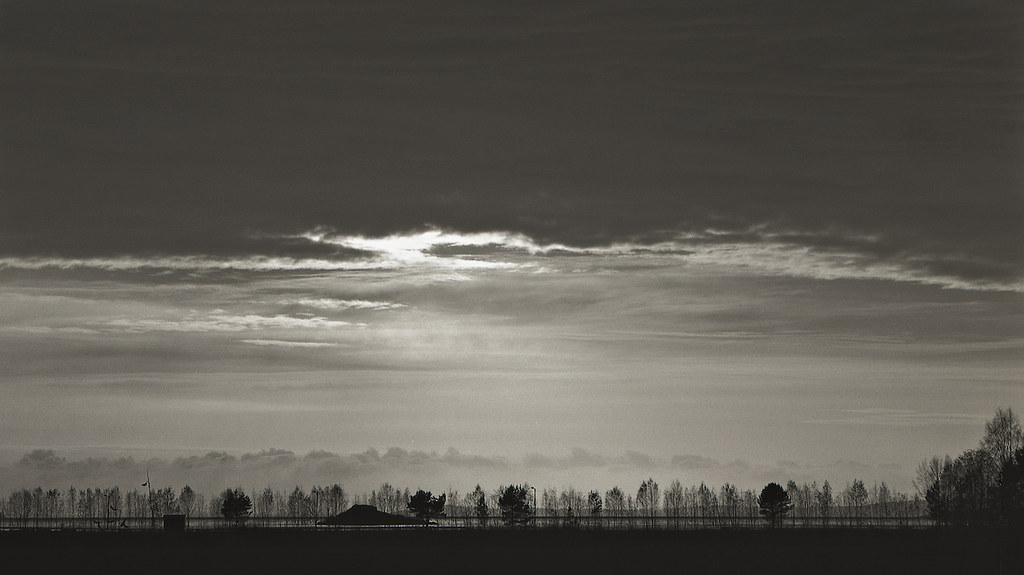
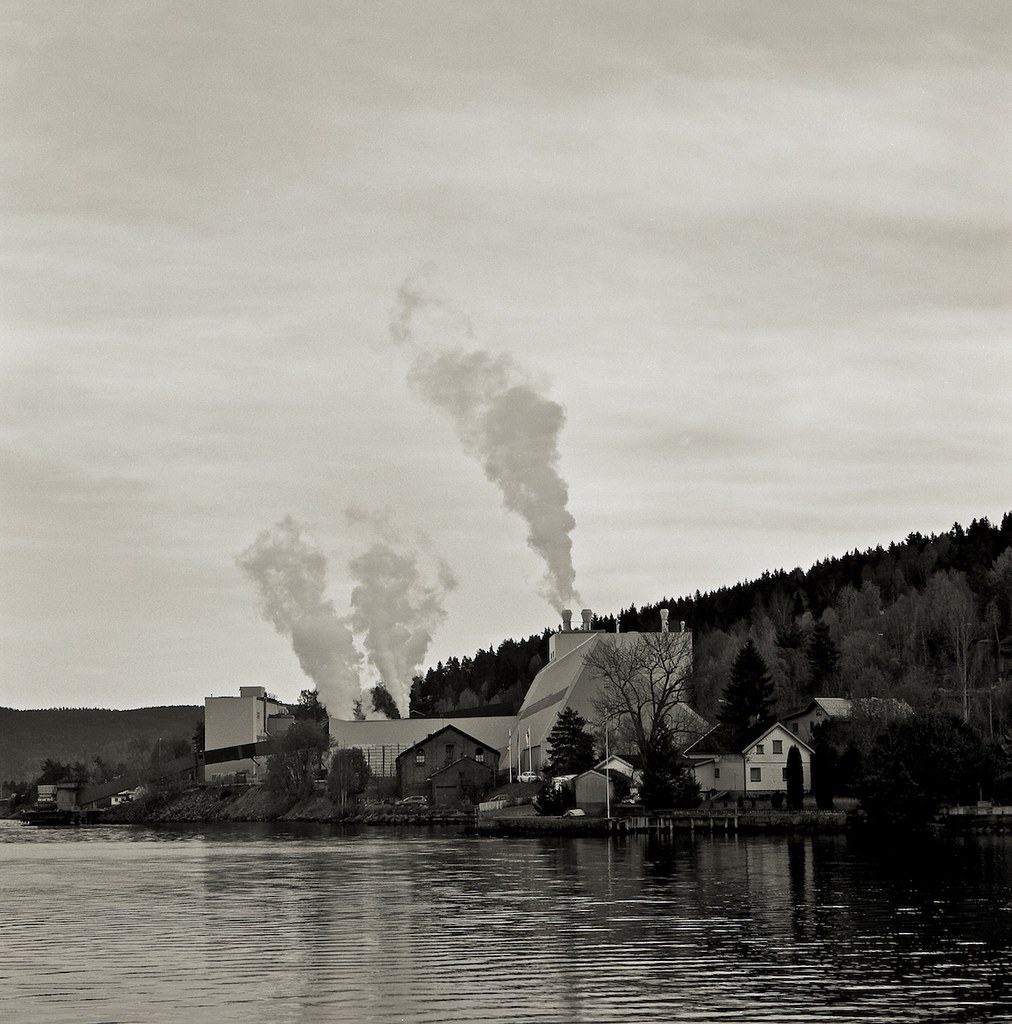
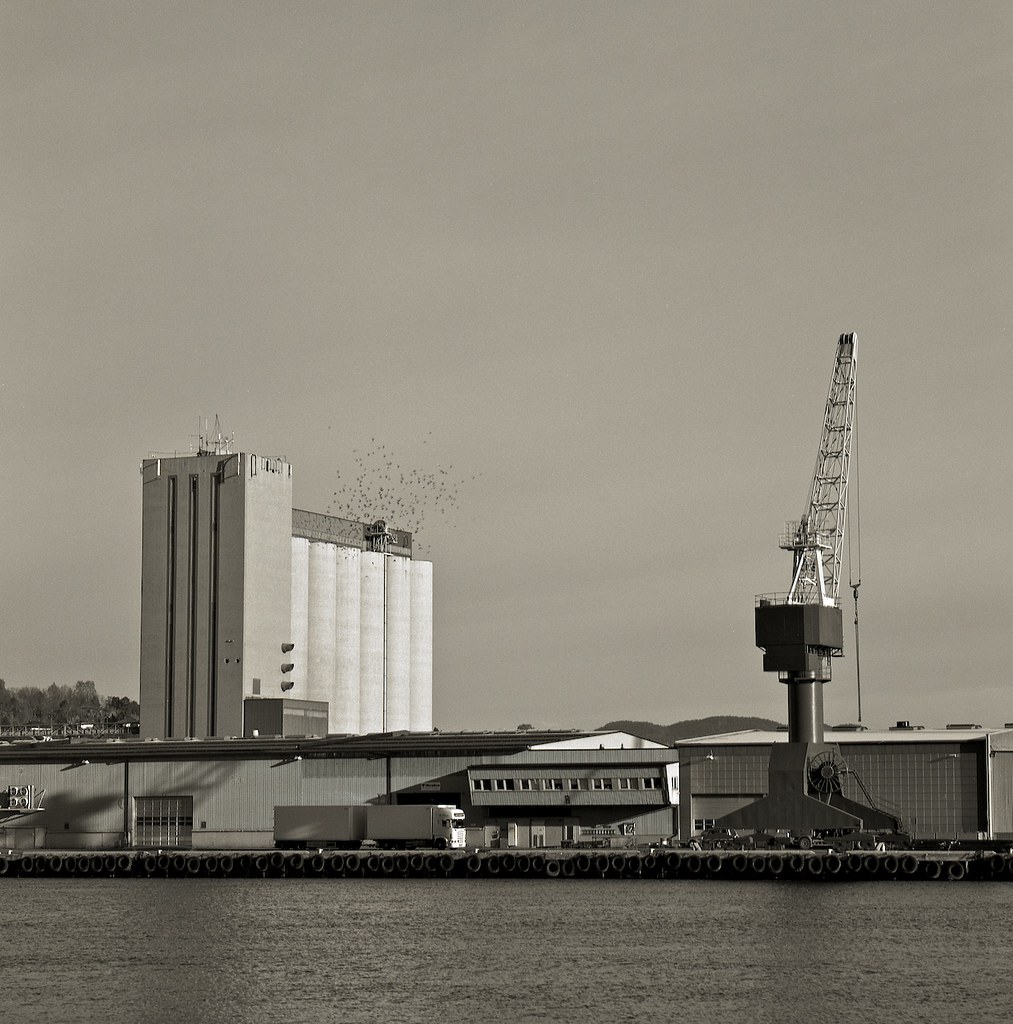
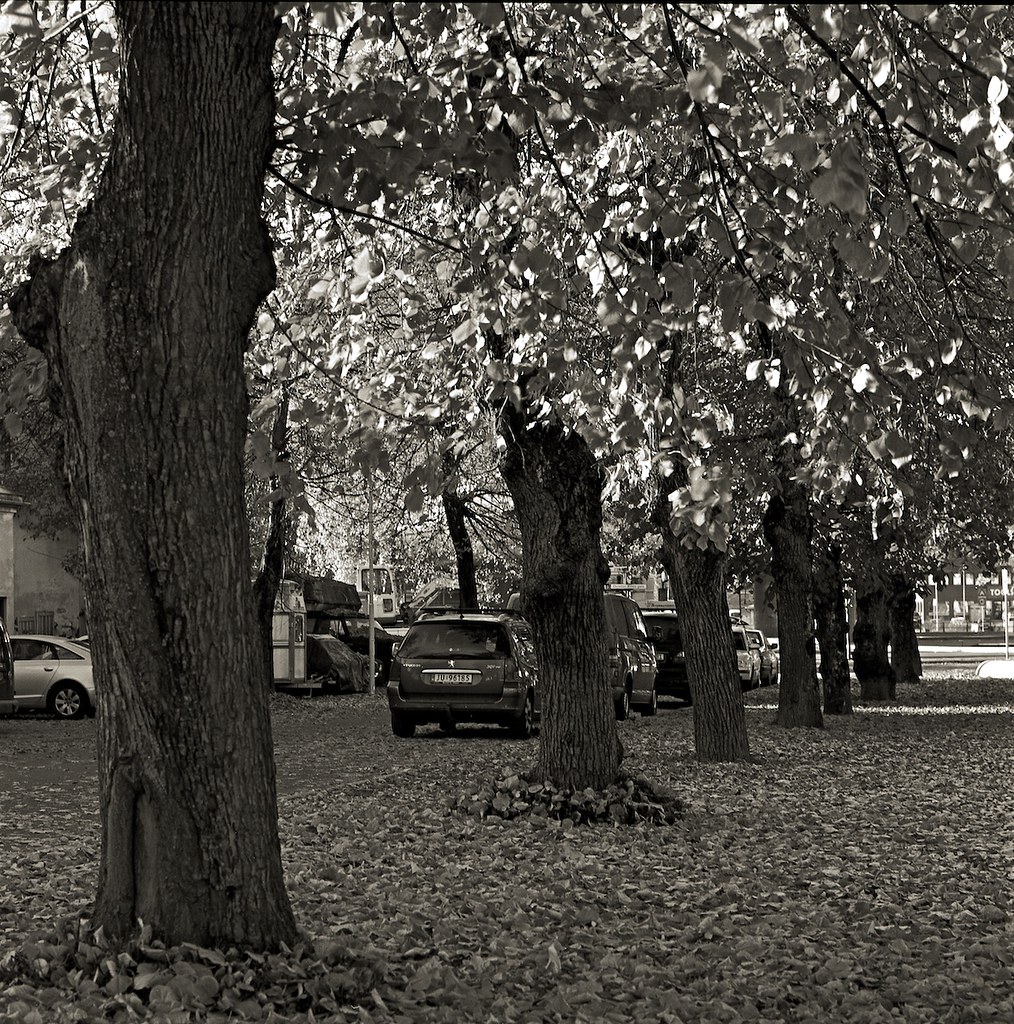
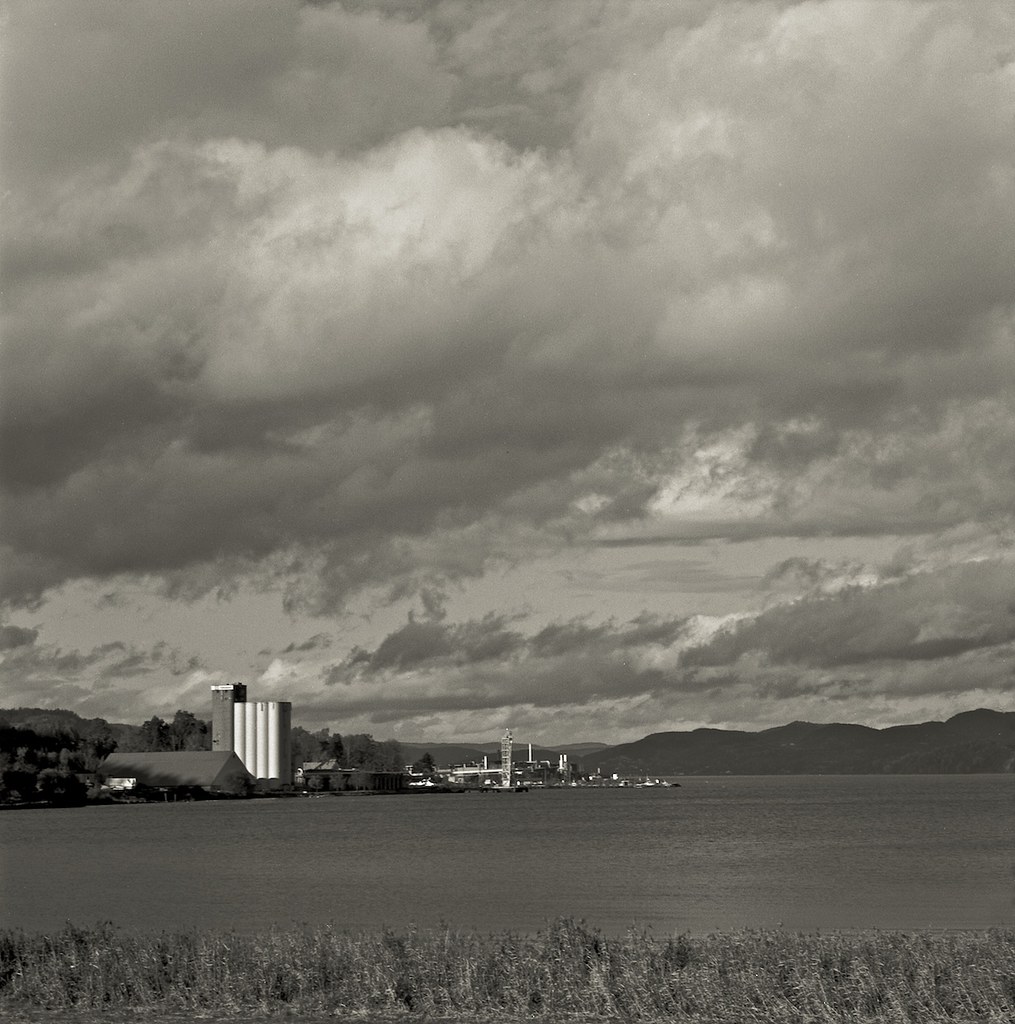
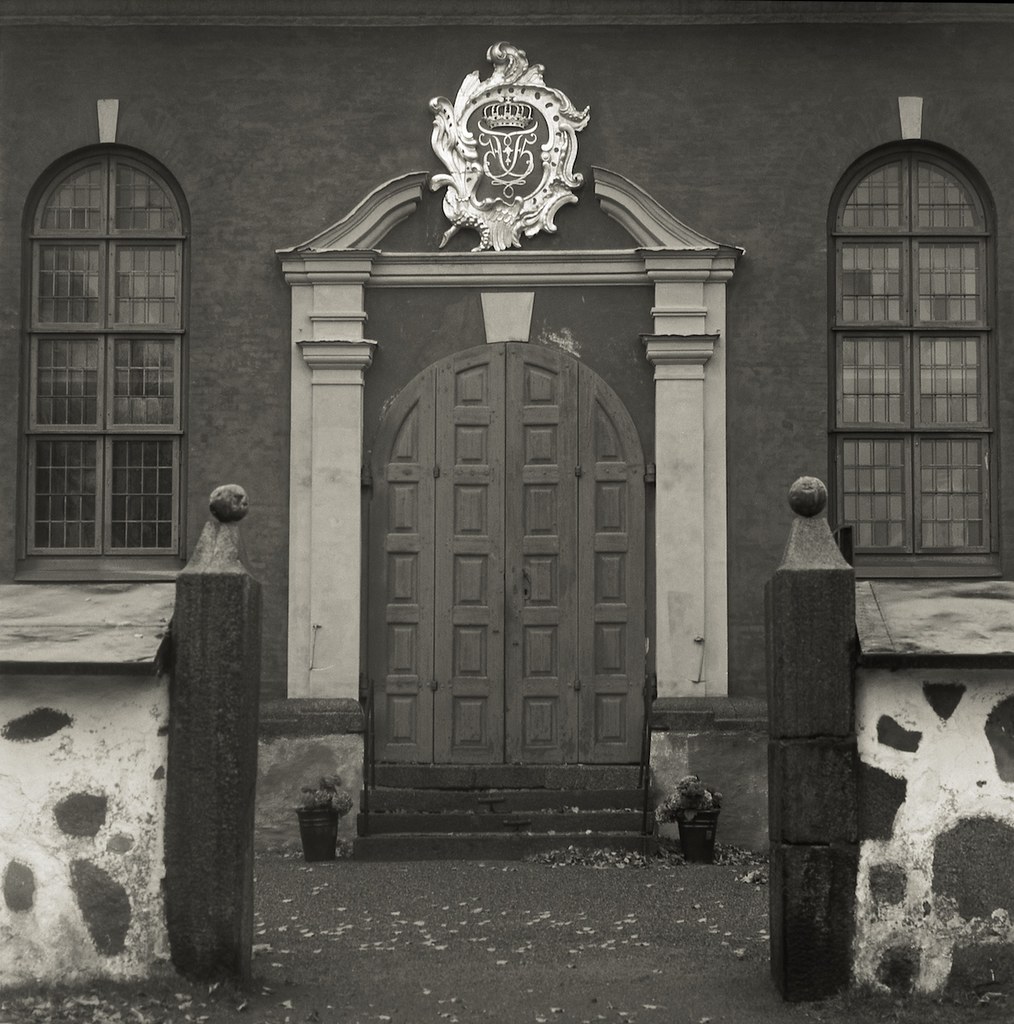
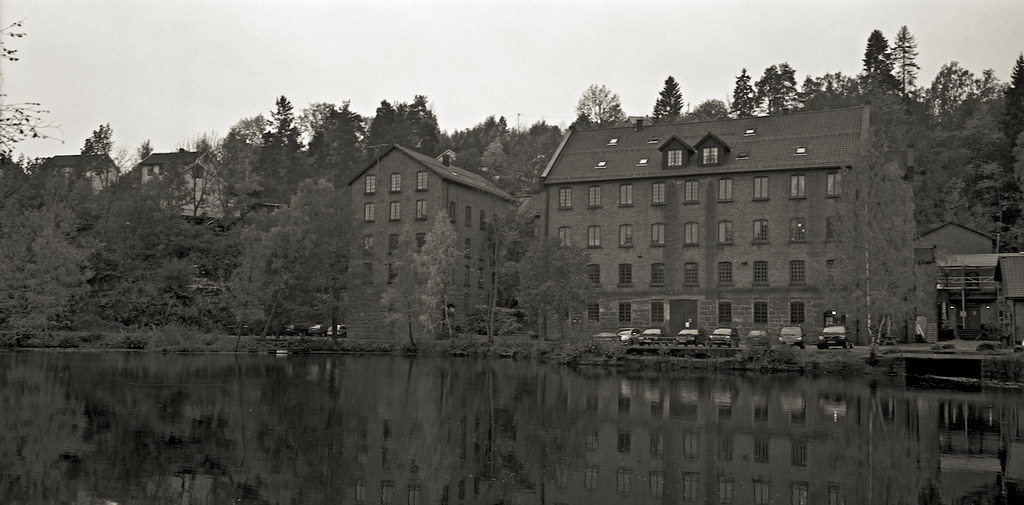
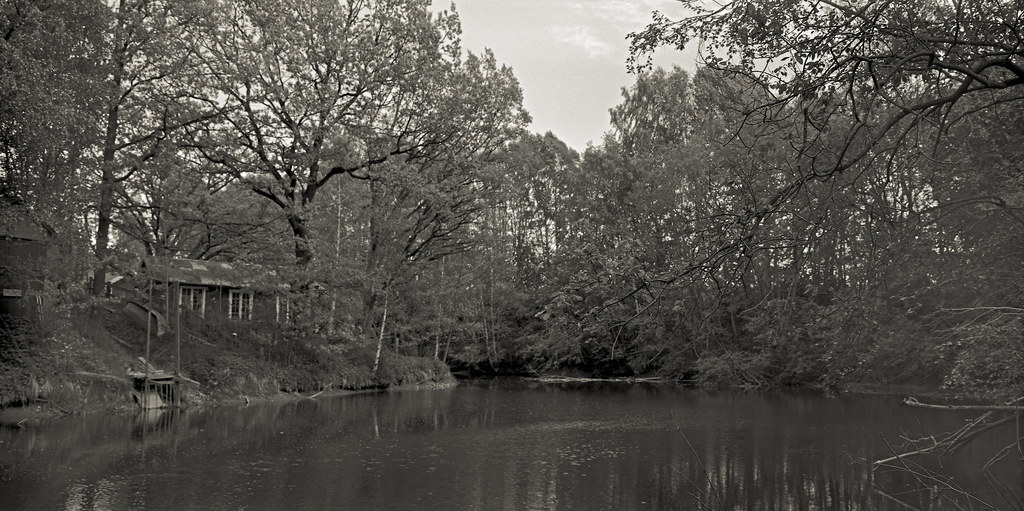
Here are a few examples (test images, not chosen for their photographical merit, click to enlarge):
 |
EI 100, levels adjusted, exposure ramped up 0.7,
mid-contrast increased |
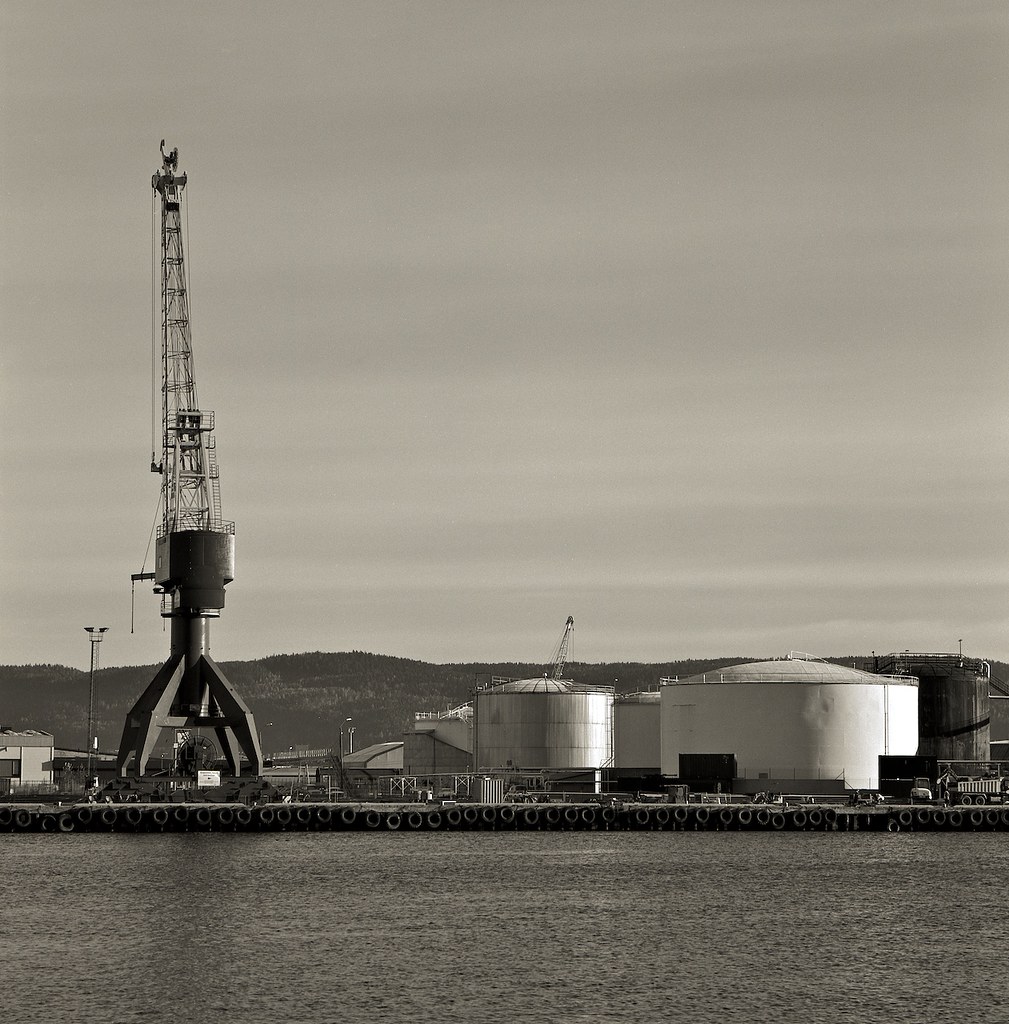
 |
EI 100, levels adjusted, exposure ramped up 0.7,
mid-contrast increased |
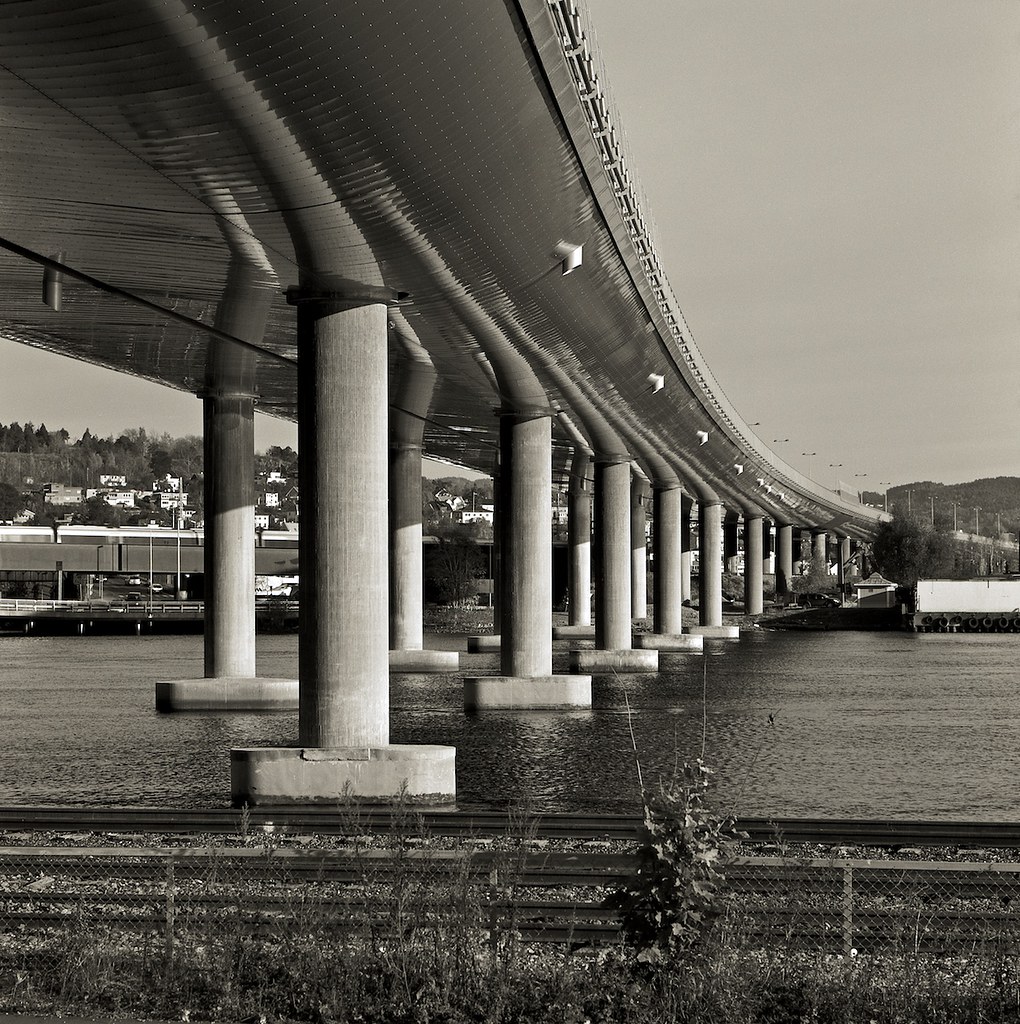
 |
| EI 100, levels adjusted, no other post-processing |
With a little bit of help from my Scandinavian Apug friends I decided to up the development of the next film by 2/3s of a stop. More on the results from that film later.
Not counting the obvious underdevelopment, a fault of my own doing, I think the negatives came out pretty well. As promised, Caffenol does well in drawing out shadow detail, yet retaining the highlight information. The contrast is somewhat subdued, probably not helped by using venerable single coated optics, and can be seen as a disadvantage in the darkroom, but an advantage in my book as it gives my scanner a better time of scanning the negatives.


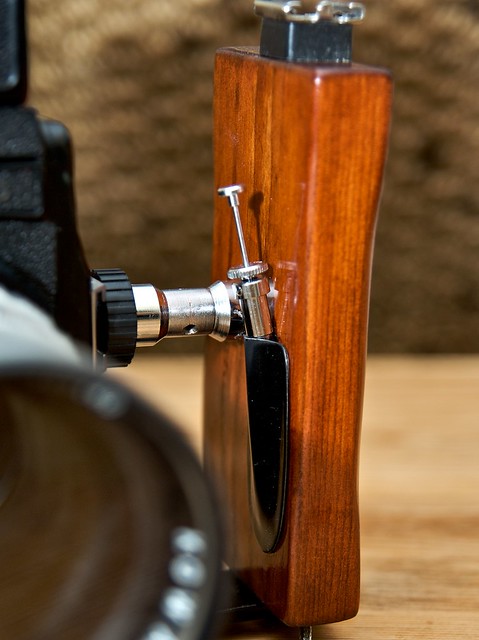
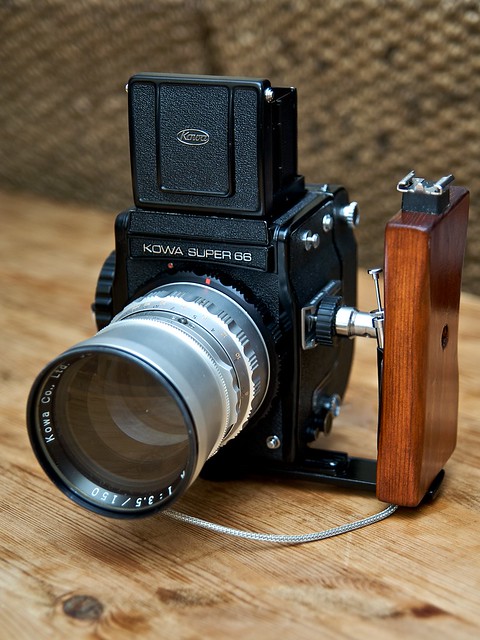
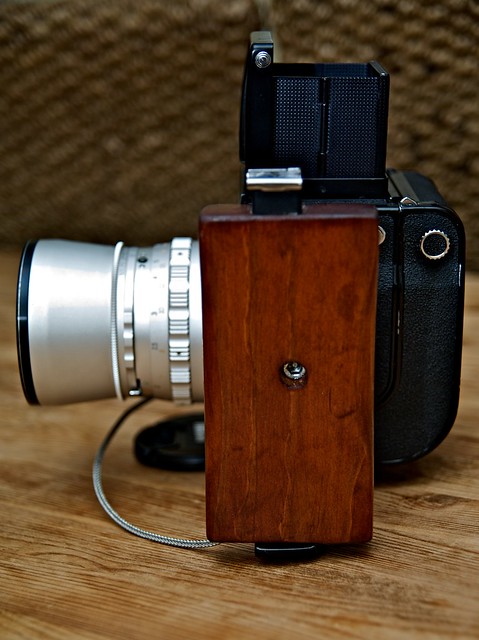

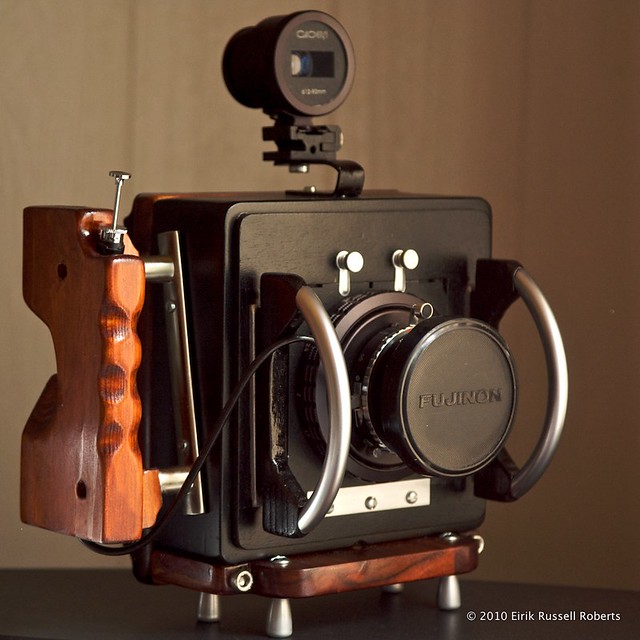
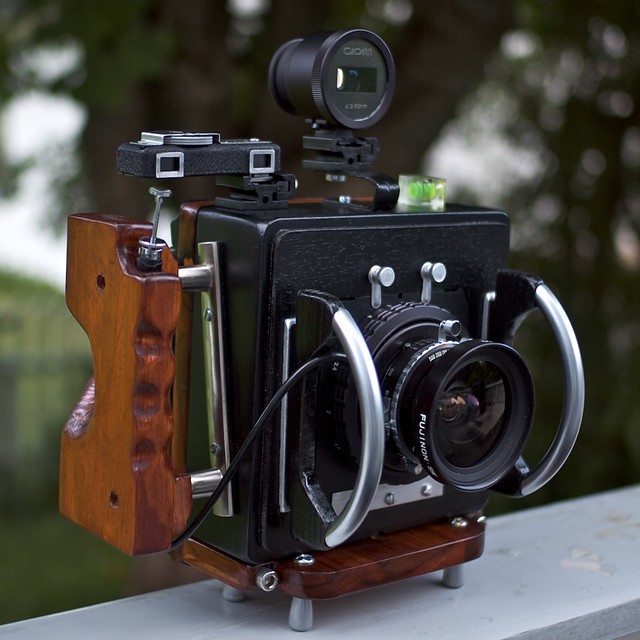


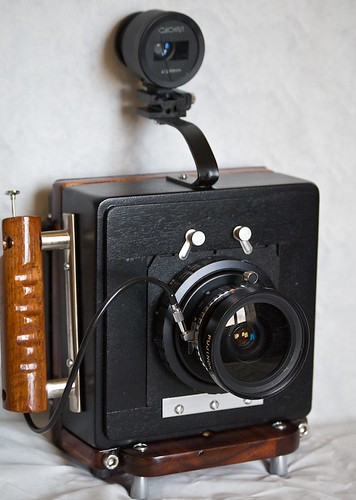
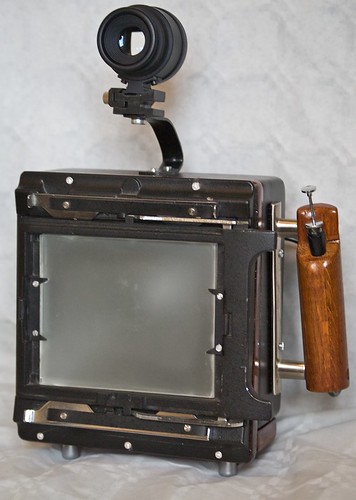
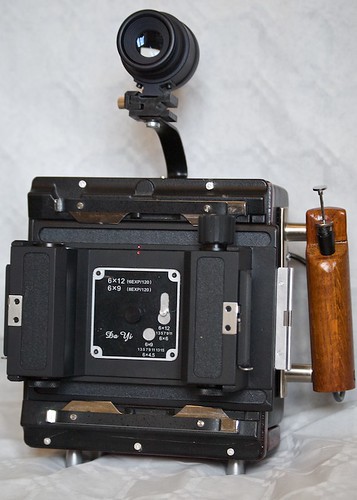
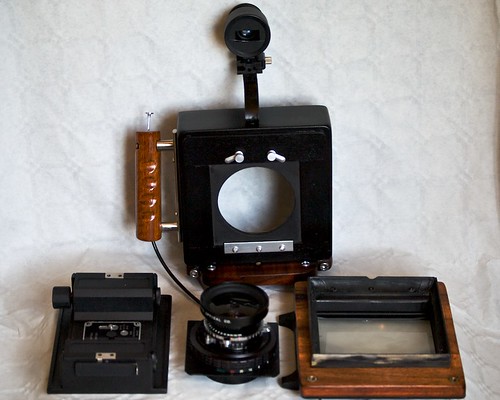 However, once put together, and taken out for a test run, there were a few things that needed doing. One, the viewfinder need not be mounted up high (added to parallax issues) the handle was too small and mounted too close the the body. Three, the unavoidable light leak. More on this later.