As mentioned the first prototype wasn´t all perfect. More than a few issues. A light leak, focus was off, viewfinder too elevated, and a handle not to my liking. The focus being off was a bit of a surprise. But after a bit of research I find out why. The Graflok back has a fresnel screen, an option on most ground glass inserts, but not here. Its supposed to be there, not matter what. Its mounted in front of the ground glass, and my collimation efforts were off by nearly 2mm due to me marking the fresnel and not the ground glass. The chambre noir (lens cone) had to be sanded down correspondingly.
Collimation was performed using an SLR with a tele of 300mm. Set this to infinity, your DIY camera lens likewise to infinity. Mount your ground glass with a few X marks centre and in each corner, on the side facing the lens (on plane with the film), and let light shine through the back. Open up the aperture to max, and sight the SLR through the DIY camera lens. If the DIY lens register is spot on you´ll not only see the markings perfectly focused, but even ink blotches, particles of dust on the ground glass. If not shim up the lens cone, or sand it down, depending on if the register needs to be lengthened or shortened.
 |
| Ground glass collimation mark in focus |
Picture taken, with the SLR, of the centre mark on my ground glass. Once you see the uneven inky blotches, dust spots and even small fibres as in this case, you are not far off. Preferably all marks will look like this. If not the lens is not completely parallel to the film plane.
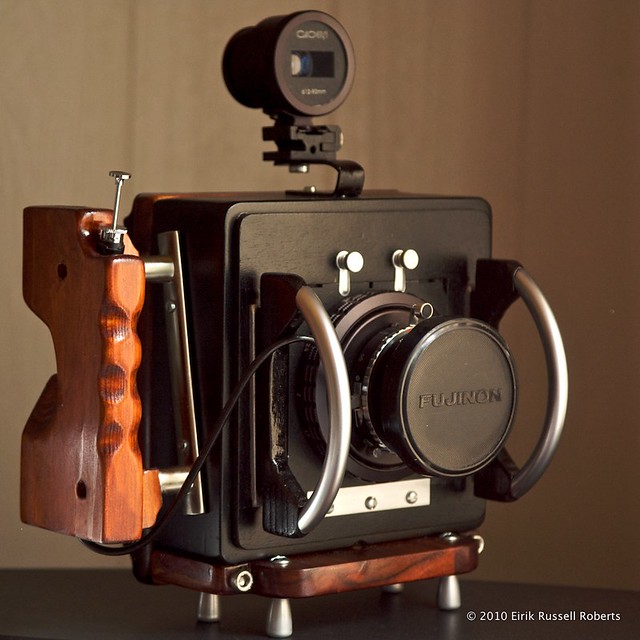
Next I went over the internal joins in the lens cone with black acrylic putty and remounted the Graflok back with a smear of putty on the mating faces. And then modified the viewfinder mount. The handle required some thought, and was left for a later revision. I added some protection for the lens too. The camera needed a bit of weight towards the front, as with the roll film back mounted it was rear heavy and would tip over. The lens protector bars counterweight the back nicely.
Version 0.2 looked like this:
 |
| Version 0.2 |
I didn´t take many pictures with it in this form as the handle was still a bit of a drawback. After some research and browsing I fell for a design by flickr member "adbieber". Very rectangular and with no rounded corners it was simple, but nice. The camera it is mounted on is decidedly lighter than mine, so I made a few compromises to make the handle slightly less angular. The result can be seen here:
 |
| Version 0.3 - new handle |
I rather think it is maturing into a rather good looking camera.

Hi, I'm a college student in the us thibking about building my own camera. I was wondering, how do you control the shutter speed? Is it done manually, ie you press the shutter release, and then let it go when you think its been 1/125 s?
ReplyDelete